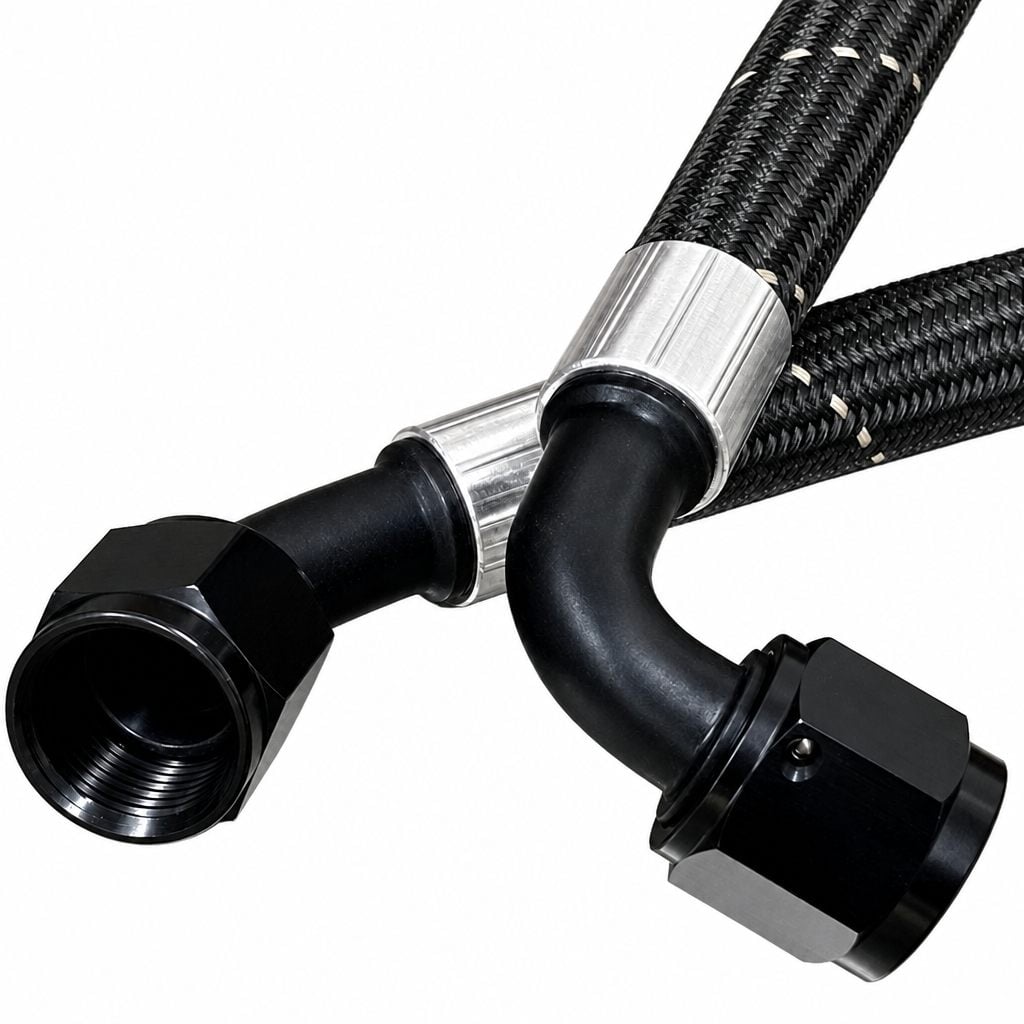
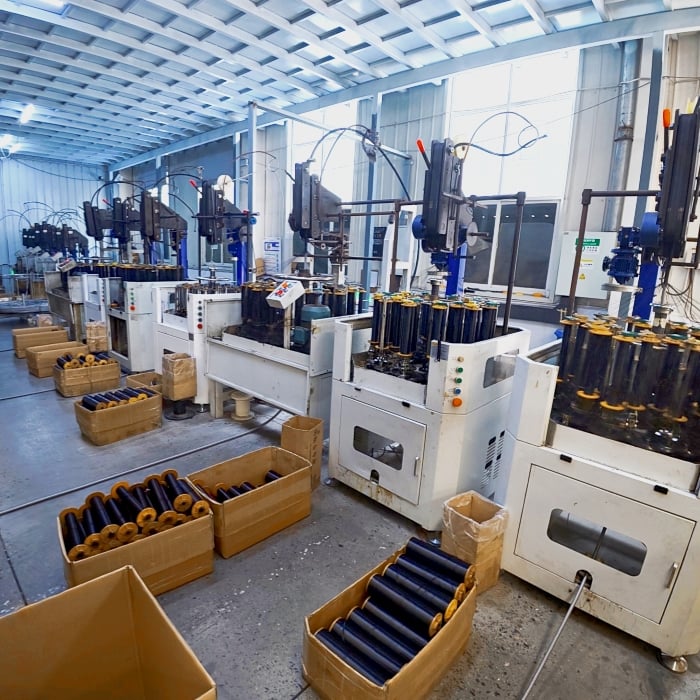
Proper installation of coolant hoses is essential for maintaining an efficient engine cooling system and preventing costly leaks or overheating issues. Many technicians and vehicle owners underestimate the importance of correct coolant hose installation procedures, which can lead to premature failure and system breakdowns. Understanding the right techniques and best practices for installing coolant hoses ensures your vehicle's thermal management operates reliably and extends the lifespan of related components.
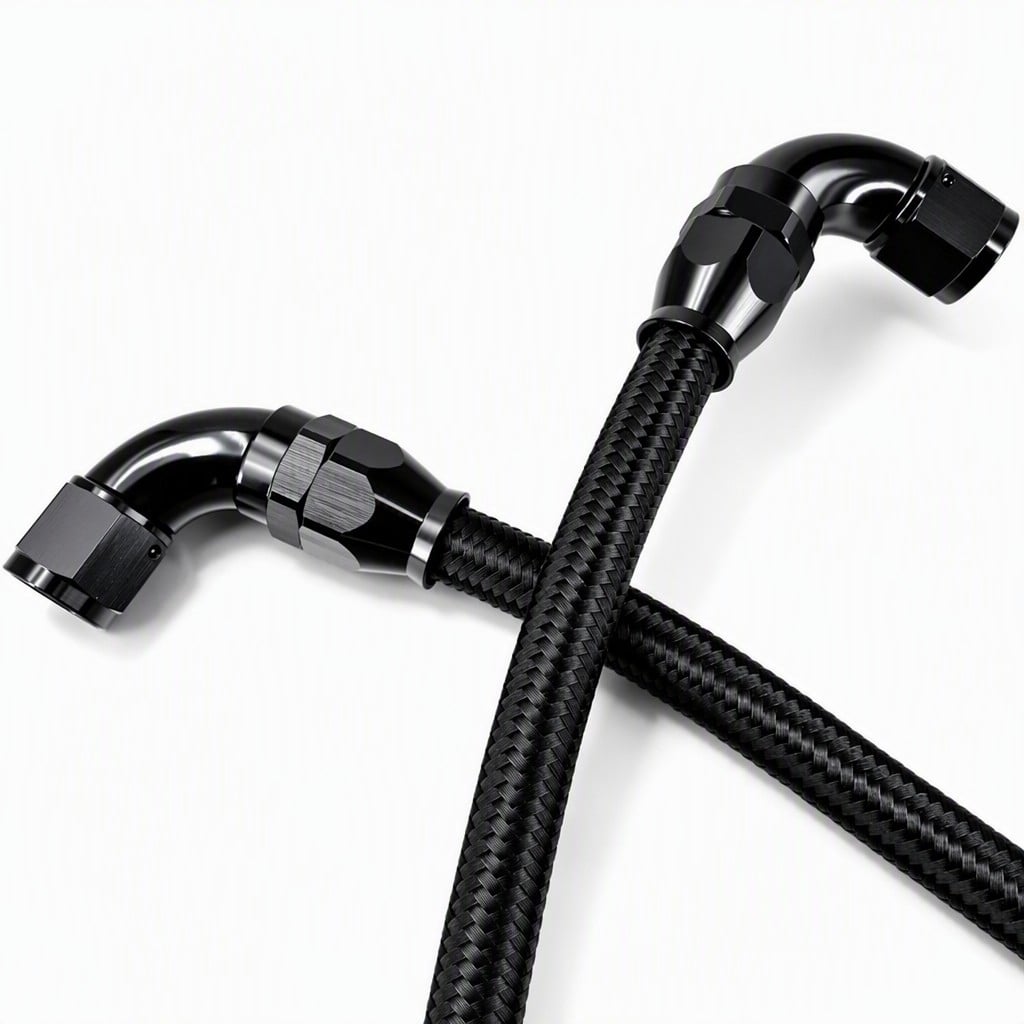
The engine cooling system depends entirely on the integrity of its hoses and connections to circulate coolant effectively. Whether you are performing radiator hose replacement or conducting routine antifreeze hose maintenance, following manufacturer specifications and industry standards protects your investment. This guide covers the essential steps, tools, and considerations needed to install coolant hoses correctly the first time.
Preparation and Safety Considerations
Gathering Tools and Materials
Before beginning any coolant hose installation work, collect the necessary tools and materials to ensure a smooth process. You will need adjustable wrenches, hose clamps, a coolant drain pan, fresh coolant, and possibly a radiator hose replacement kit specific to your vehicle model. Having quality hose clamps rated for the pressure specifications of your engine cooling system is critical, as inferior clamps can slip or fail under operational stress.
Inspect your work area and ensure adequate lighting and ventilation. The engine should be completely cool before touching any coolant hoses, as pressurized hot coolant can cause serious burns. Review the service manual for your specific vehicle to understand the coolant hose routing diagram and identify all connection points that require attention during installation.
Draining and Inspecting the System
Drain the existing coolant into a proper containment vessel to prevent environmental contamination. This step is mandatory before removing old radiator hose replacement sections or conducting antifreeze hose maintenance. Once drained, visually inspect all hose connections, clamps, and components for signs of degradation, leaks, or corrosion that might indicate broader cooling system issues.
Take photographs of the original hose routing and clamp positions if you are unfamiliar with the layout. This reference proves invaluable when reassembling the engine cooling system, especially if multiple hoses connect in a complex pattern. Document any unusual discoloration, deposits, or damage inside the hoses, as these symptoms often reveal underlying problems requiring separate attention.
Installation Techniques for Optimal Performance
Positioning and Securing Hoses
When installing coolant hoses, ensure each connection slides fully onto its fitting barb or port until it reaches the resistance point. The hose must be seated completely before applying any hose clamp, as partial engagement creates weak joints prone to leaking. Gently twist the hose left and right while pushing to confirm it is fully seated on the fitting and cannot slip backward.
Position hose clamps approximately one-quarter inch from the edge of the hose end, which provides optimal clamping force distribution. Tighten clamps with firm but controlled pressure using a screwdriver or torque wrench if your engine cooling system specifications require precise torque values. Over-tightening can damage hose material or crush the fitting, while under-tightening allows coolant to seep past the clamp seal during operation.
Managing Routing and Clearances
Follow the manufacturer's hose routing diagram exactly to avoid contact with moving engine components, hot surfaces, or sharp edges that could abrade the hose walls over time. Radiator hose replacement installations must account for engine movement during operation, so leave slight slack in the hose run to accommodate expansion and contraction cycles. Route hoses away from electrical connectors, fuel lines, and belts to prevent cross-contamination or electrical hazards.
Secure hoses to the engine block or frame using additional clips or brackets at midpoints if the hose span exceeds normal lengths. This support prevents excessive vibration and reduces stress on the connection points. Ensure adequate clearance between the antifreeze hose maintenance path and components like the alternator or power steering pump that operate near the cooling system.
Testing, Refilling, and Long-Term Maintenance
Pressure Testing and Refilling
After all coolant hoses are installed and clamps are secured, refill the engine cooling system with fresh, manufacturer-approved coolant. Fill slowly and carefully to allow air pockets to escape from high points in the system. Run the engine at idle temperature for several minutes, then allow it to cool completely and check the coolant level again, as the system may require additional topping up after initial circulation.
Perform a pressure test using a cooling system pressure tester to verify that all connections hold rated system pressure without leaking. This diagnostic step confirms that your radiator hose replacement or antifreeze hose maintenance work meets performance standards. Look carefully at each clamp and connection point for visible moisture or drips that indicate improper seating or insufficient clamping force.
Preventive Care and Future Inspections
Document the date and mileage of your coolant hose installation for reference during future service intervals. Most manufacturers recommend inspecting coolant hoses annually and replacing them every five to seven years or as specific service schedules dictate. Factors like climate extremes, vehicle usage patterns, and coolant type influence hose degradation rates, so adjust inspection frequency accordingly.
Establish a habit of checking coolant levels and hose condition monthly as part of routine engine cooling system maintenance. Early detection of soft spots, cracks, bulges, or discoloration in the hose walls allows for planned replacement before failures occur. Maintaining proper coolant concentration and pH balance extends hose material life and protects against internal corrosion or mineral deposits that compromise system performance.
FAQ
What is the correct pressure rating for coolant hose clamps?
Coolant hose clamps must match or exceed your vehicle's engine cooling system pressure specification, typically ranging from 12 to 16 psi for most passenger vehicles. Always refer to the service manual for exact requirements, as heavy-duty or high-performance applications may demand higher-rated clamps. Using clamps rated below system pressure risks failure during normal operation, potentially causing coolant leaks and overheating.
How long does a typical radiator hose replacement take to complete?
A radiator hose replacement typically requires 30 minutes to two hours depending on hose location, vehicle design, and technician experience. Upper radiator hoses are usually more accessible than lower hoses or those routed around engine accessories. Factor in additional time for draining coolant, pressure testing, and refilling the engine cooling system to arrive at the total service duration.
Can improper antifreeze hose maintenance lead to engine damage?
Yes, neglected antifreeze hose maintenance can result in coolant leaks that starve the engine of thermal management capacity, causing overheating and potential head gasket failure or internal engine damage. Contaminated or degraded coolant hoses also allow air to enter the engine cooling system, creating hot spots and reducing heat dissipation efficiency. Preventive hose inspection and timely replacement protect critical engine components from catastrophic damage.
 EN