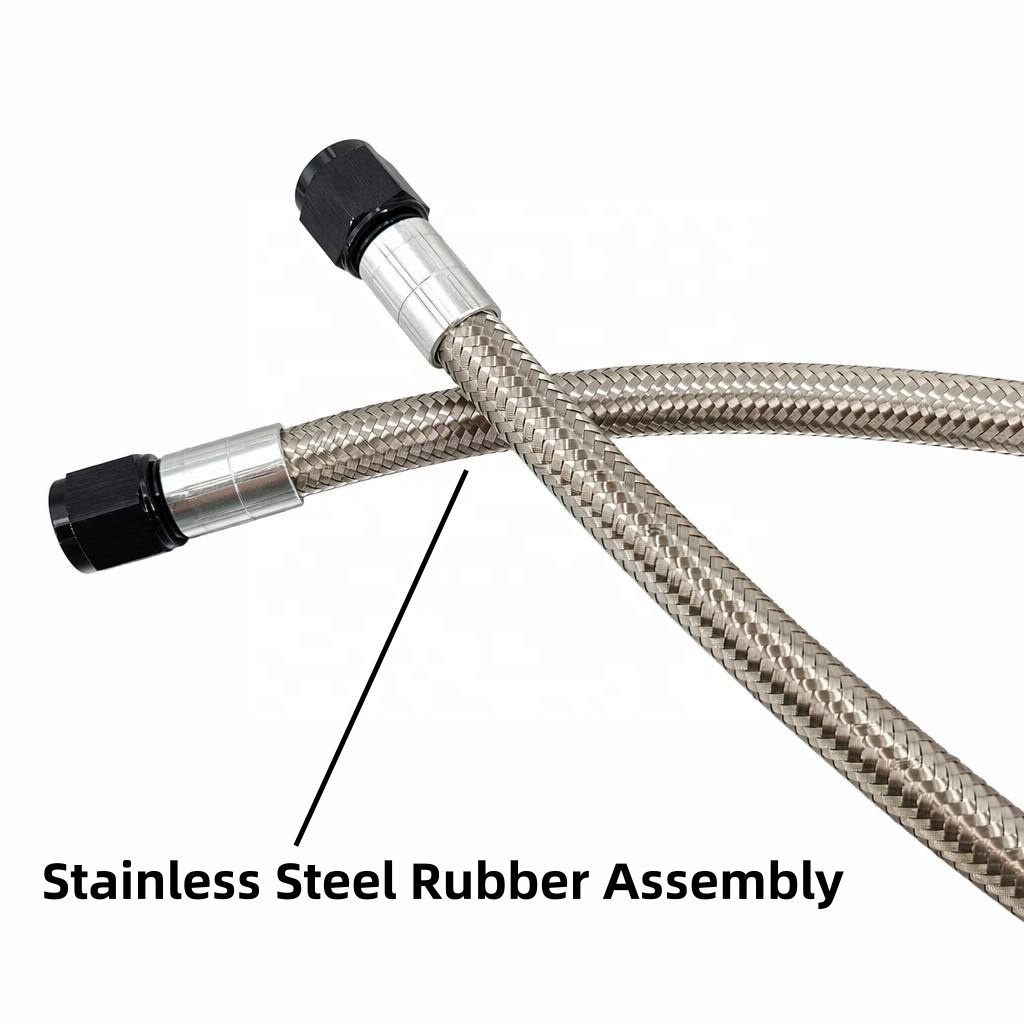
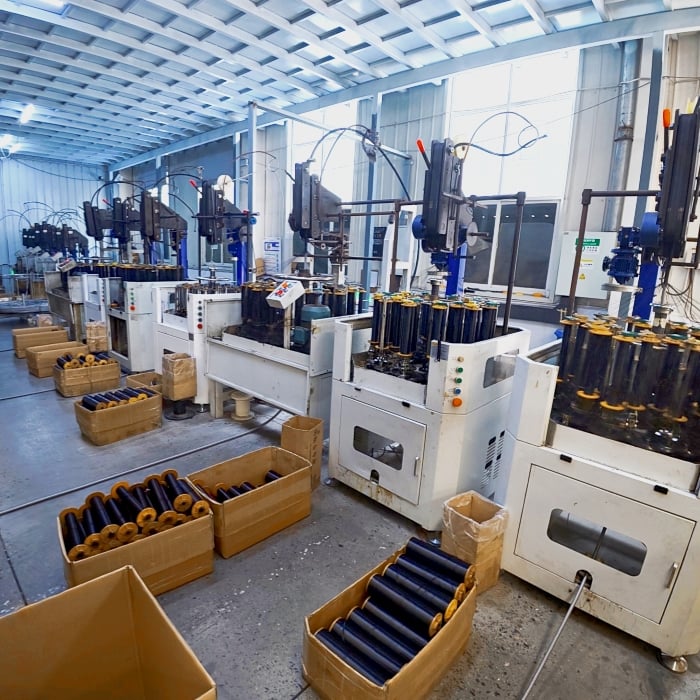
Installing a hydraulic hose assembly correctly is critical for system safety, performance, and longevity in industrial applications. Many operators and technicians underestimate the precision required during installation, leading to leaks, pressure drops, safety hazards, and costly downtime. This comprehensive guide walks you through each step of proper hose assembly installation, covering preparation, fitting connection, pressure testing, and ongoing maintenance protocols.
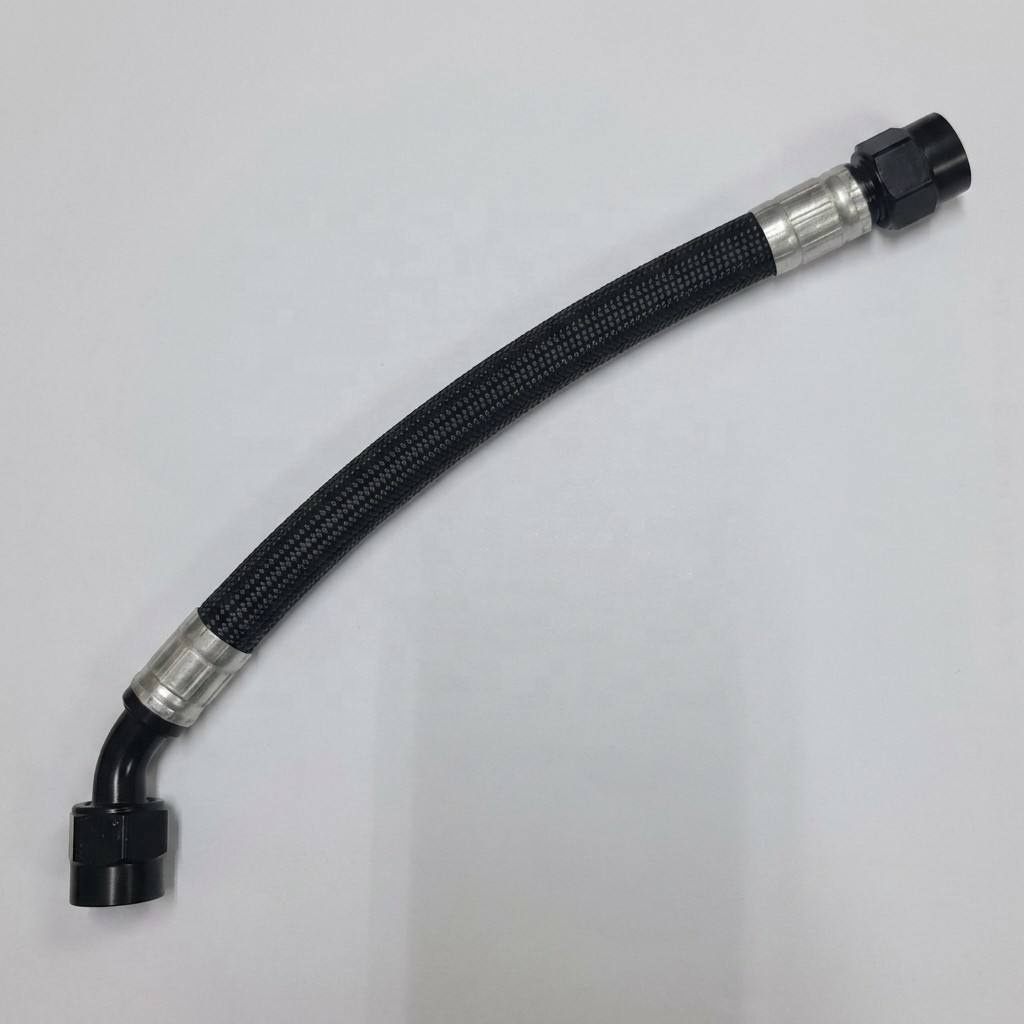
A properly installed high pressure hose prevents system failures that can disrupt production and create safety risks for personnel. Whether you're assembling a new system or replacing worn components, understanding the correct installation methodology ensures your flexible tubing performs at rated specifications. The quality of your hose assembly installation directly impacts operational reliability and user safety.
Preparation and Material Inspection
Assessing System Requirements
Before beginning installation, identify the pressure rating, flow rate, and temperature range your hydraulic hose must handle. Review the system schematics and manufacturer specifications to confirm hose diameter, length, and fitting type requirements. High pressure hose selection depends on these parameters—selecting undersized or incompatible tubing leads to rapid failure and system damage. Document the fluid type in use, as different hydraulic oils and synthetics affect material compatibility and hose lifespan.
Inspecting Components Before Assembly
Examine the hose assembly, fittings, ferrules, and adapters for cracks, dents, corrosion, or visible damage. Flexible tubing with internal contamination or surface defects must be rejected and replaced. Check that all fittings match the hose bore size and pressure rating. Lay out tools on a clean surface to prevent dirt from entering open hose ends—even small particles inside a hose assembly can damage pump seals and valves. Store high pressure hose in cool, dry conditions away from direct sunlight and ozone-generating equipment.
Connection and Fitting Assembly Techniques
Proper Fitting Installation
Insert the hose into the fitting with steady, controlled pressure—do not force it. The connection should slide in smoothly until fully seated, with no twisting or bending that stresses the flexible tubing. Once seated, ensure the ferrule ring sits flush against the fitting cone. Tighten compression nuts by hand first, then use a wrench to achieve finger-tight-plus-one-quarter-turn tension. Over-tightening crushes the ferrule and damages the seal; under-tightening causes leaks. Many technicians overlook this balance, resulting in either leaking systems or ferrule damage requiring replacement.
Routing and Support Considerations
Route the hose assembly away from sharp edges, hot surfaces, and rotating machinery that could abrade the outer cover. Use cable clips or spiral wrap to secure flexible tubing at intervals—unsupported hose vibrates under pressure fluctuations, accelerating fatigue failure. Maintain minimum bend radius specifications; excessive bending reduces hose assembly life and increases internal turbulence. Avoid kinks, tight coils, or compression that restricts fluid flow and causes pressure spikes. High pressure hose routed parallel to electrical cables should be separated by at least six inches to prevent interference.
Pressure Testing and System Commissioning
Staged Pressure Testing Protocol
After hose assembly installation, conduct a staged pressure test to verify integrity. Begin at 25 percent of rated pressure, hold for two minutes, and inspect for leaks around all fittings. Increase to 50 percent, then 75 percent, and finally 100 percent operating pressure, pausing at each stage to verify no weeping or dripping occurs. This gradual approach prevents sudden hose failure and allows time to identify weak connection points. If any leaks appear, depressurize immediately, disconnect the component, and reassemble with fresh ferrules and fitting inspection.
Monitoring System Performance Post-Installation
Once the hydraulic hose assembly is installed and pressure-tested, monitor system performance during initial operation. Listen for unusual noise, vibration, or hissing that indicates leaking high pressure hose. Check fluid temperature, flow rate, and pressure gauge readings to confirm normal operating conditions. Establish a regular maintenance schedule including visual inspection every 250 operating hours, pressure monitoring, and fluid analysis. Flexible tubing degrades over time due to thermal cycling, pressure fatigue, and fluid oxidation—proactive inspection extends service life and prevents unexpected failures that disrupt production.
FAQ
What is the correct ferrule orientation when installing a hose assembly?
The ferrule should always be positioned so its tapered end faces the fitting cone. This creates a wedging action that seals when the compression nut tightens, forcing the ferrule onto the hose outer diameter. Reversed ferrule orientation prevents proper sealing and causes immediate leaking of your hydraulic hose. Always double-check ferrule direction before tightening the nut to avoid assembly errors that require disassembly and reinstallation.
Can a high pressure hose be reused after disconnection?
Standard practice dictates replacing ferrules and fittings after disconnection, even if the flexible tubing remains undamaged. Ferrules compress permanently during the sealing process and lose effectiveness when reused. However, the hose assembly itself can be reused if the outer cover shows no cracks, abrasion, or internal contamination. Always inspect internal bore condition carefully; any debris or moisture inside requires thorough flushing or hose replacement to protect connected components.
How do you prevent hose assembly leaks at connection points?
Leaks most commonly result from improper ferrule seating, undersized fittings, or over-tightening. Ensure the hose bore diameter matches fitting size exactly, and use the correct ferrule type for your hose assembly design. Apply moderate wrench tension—typically finger-tight-plus-one-quarter-turn—rather than maximum force. For high pressure hose connections prone to vibration, apply a thin thread sealant on compression nut threads to prevent micro-movements that loosen fittings. Regular inspection detects early weeping before significant leakage occurs.
 EN