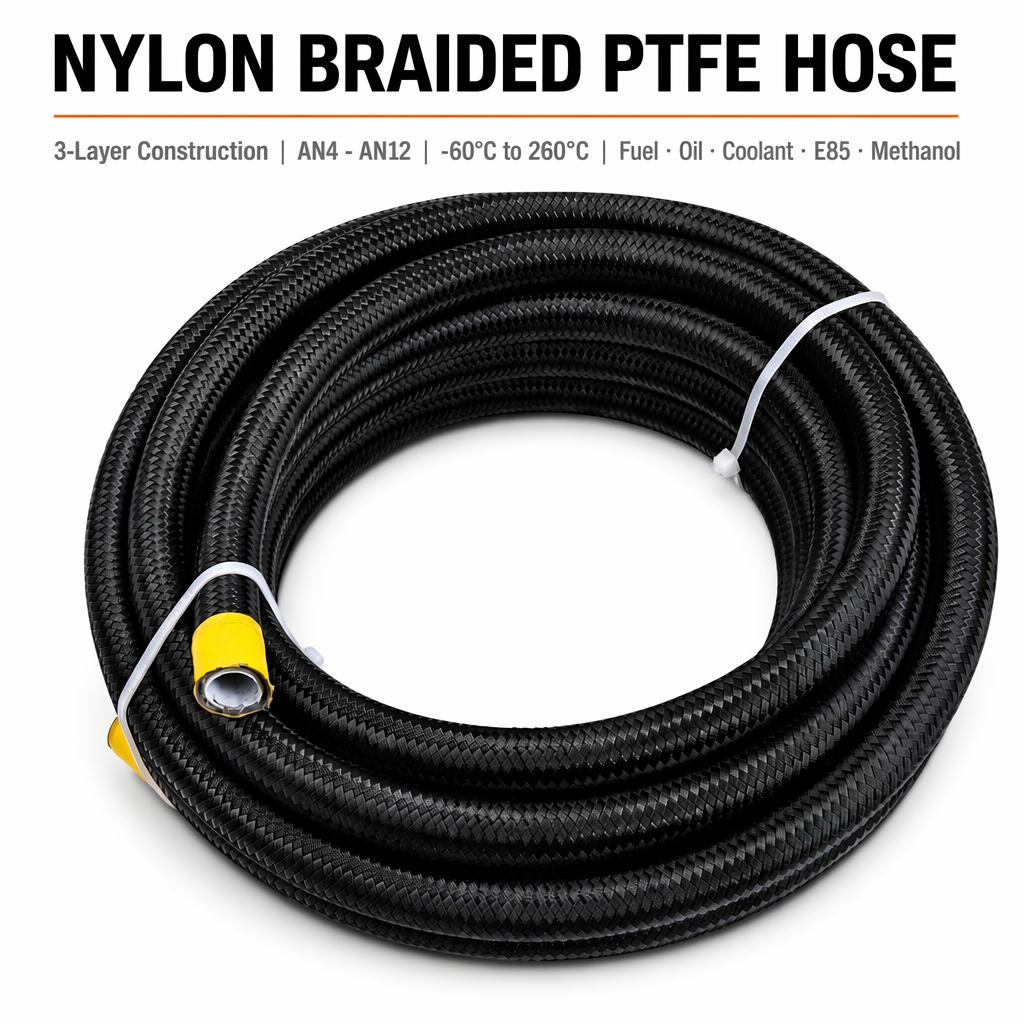
Installing a braided hose system requires careful planning, precise measurements, and proper technique to ensure long-term performance and safety. Whether you are working with a braided brake hose, stainless steel braided hose, or braided hydraulic hose, the fundamental principles of installation remain consistent across industrial, automotive, and fluid transfer applications. A properly installed braided hose system minimizes leak risks, extends component lifespan, and maintains system reliability under demanding operating conditions. Understanding the correct installation procedures prevents costly downtime and ensures compliance with industry standards and safety regulations.
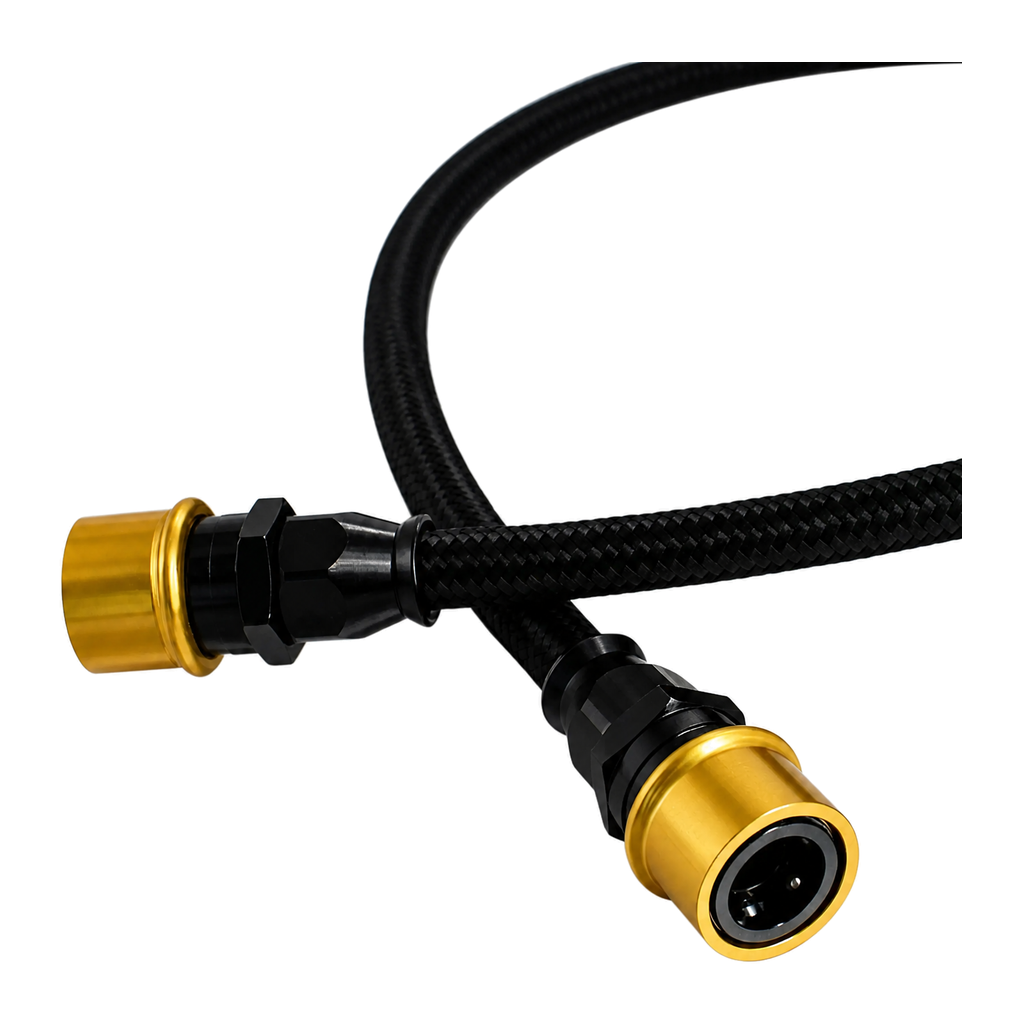
The installation process begins with selecting appropriate fittings and understanding the system specifications. A braided hydraulic hose demands compatibility between the hose inner diameter, pressure rating, and end connections. Rushing through preparation stages frequently leads to misalignment, incorrect thread engagement, and premature failure. This guide walks through each critical installation step, from pre-installation inspection through final pressure testing, ensuring your braided hose system operates safely and reliably for years to come.
Pre-Installation Preparation and Component Inspection
Gathering Necessary Tools and Materials
Before beginning assembly, collect all required tools including adjustable wrenches, torque wrenches, tape measure, and thread sealant. Each braided hose assembly should come with documentation specifying the correct fitting types and torque specifications. Verify that the stainless steel braided hose matches the system pressure requirements and temperature range. Inspect the braided brake hose fittings for damage, corrosion, or manufacturing defects that could compromise sealing integrity. Organize your workspace to prevent contamination and ensure easy access to all components throughout the installation process.
Measuring and Planning Hose Routing
Accurate measurements determine whether the braided hose will fit within the available space without kinks, twists, or excessive bending. Mark the routing path and account for vibration, thermal expansion, and movement of connected components. The stainless steel braided hose exterior sleeve protects against abrasion, but sharp edges or rough mounting surfaces can still damage the protective layer over time. Plan for adequate clearance around moving parts and hot surfaces, maintaining at least one-half inch separation from heat sources. Document all measurements and routing decisions before cutting or positioning the braided hydraulic hose.
Installation Technique and Proper Fitting Connection
Cleaning and Protecting Internal Passages
Contamination inside a braided hose degrades system performance and causes component failure. Flush the entire braided brake hose interior with approved cleaning fluid before connecting to the system. Use compressed air to dry the braided hydraulic hose interior completely, removing all moisture and residual cleaning agents. Cap or cover the hose ends immediately after drying to prevent dust and debris infiltration. When connecting the braided hose to fittings, avoid allowing any foreign material to enter the fluid pathway, as even microscopic particles can damage pumps and control valves.
Thread Preparation and Fitting Engagement
Apply thread sealant tape or liquid thread sealant to the male threads of connections before screwing the stainless steel braided hose fitting into place. Hand-tighten the braided hose fitting first to ensure proper thread alignment, then use a torque wrench to achieve the manufacturer-specified torque value. Over-tightening damages threads and can crack fittings, while under-tightening causes leaks under pressure. The braided hydraulic hose fitting should be snug but not forcefully compressed. For the braided brake hose, verify that the fitting seats completely and uniformly before proceeding to the next connection point.
Securing, Testing, and Final Verification
Securing the Braided Hose Against Movement
Use non-abrasive clamps or support brackets to secure the braided hose at regular intervals along its run, typically every 12 to 18 inches depending on system vibration levels. The stainless steel braided hose should never be tightly wrapped or kinked, as this reduces internal flow and creates stress concentration points. Ensure the braided hydraulic hose has slight slack to accommodate thermal expansion when fluid temperature increases. For a braided brake hose in automotive applications, position clamps away from sharp bends and ensure the protective sleeve remains intact throughout the entire length.
Pressure Testing and Leak Verification
After installation is complete, pressurize the system gradually while monitoring all connection points of the braided hose assembly. Watch for any signs of weeping or dripping at the braided brake hose fittings, which indicate insufficient torque or thread sealant failure. The braided hose and fittings should remain dry throughout the pressure ramp-up to the system operating pressure. Maintain system pressure for at least 15 minutes while conducting visual inspection of the stainless steel braided hose and all connection joints. If any leaks develop during testing, depressurize immediately and inspect the braided hydraulic hose fitting for cross-threading or damage that requires replacement or re-tightening.
FAQ
What is the correct torque specification for braided hose fittings?
The torque specification depends on the fitting size and material, typically ranging from 15 to 60 foot-pounds for common automotive and hydraulic applications. Always refer to the manufacturer-provided torque chart for your specific braided hydraulic hose assembly, as over- or under-tightening compromises seal integrity. Using a calibrated torque wrench ensures consistent, correct engagement every time you install a braided brake hose or stainless steel braided hose fitting.
Can a braided hose be installed in any orientation?
Most braided hose installations allow flexible orientation, but specific applications may require particular positioning for gravity drainage or air elimination in the system. Consult the system design documentation to confirm whether your braided hydraulic hose must be positioned vertically, horizontally, or at a specific angle. For a braided brake hose, always ensure the hose does not create air pockets at high points in the line, which reduces braking performance and safety.
How often should a braided hose installation be inspected for leaks?
Perform visual inspection of the braided hose assembly at least monthly during initial operation to catch early signs of fitting looseness or seal degradation. Stainless steel braided hose systems in high-vibration environments benefit from quarterly inspections, while routine automotive applications using a braided brake hose typically require annual preventive checks. Address any weeping fluid immediately by re-torqueing fittings or replacing the braided hydraulic hose if damage is found.
 EN