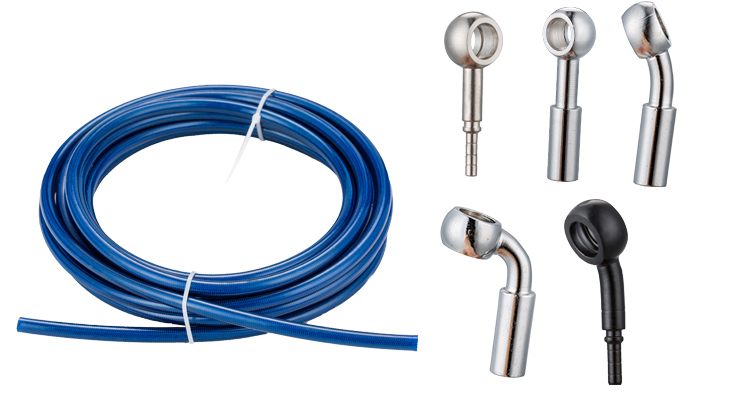
Installing a custom brake hose system requires precision, proper planning, and adherence to safety standards that protect both your vehicle and its occupants. Whether you are upgrading from factory rubber lines to performance braided brake lines or replacing worn hydraulic brake tubing, understanding the installation process ensures optimal braking performance and system reliability. A properly installed custom brake hose system reduces brake fade, improves responsiveness, and enhances overall vehicle safety during demanding driving conditions.
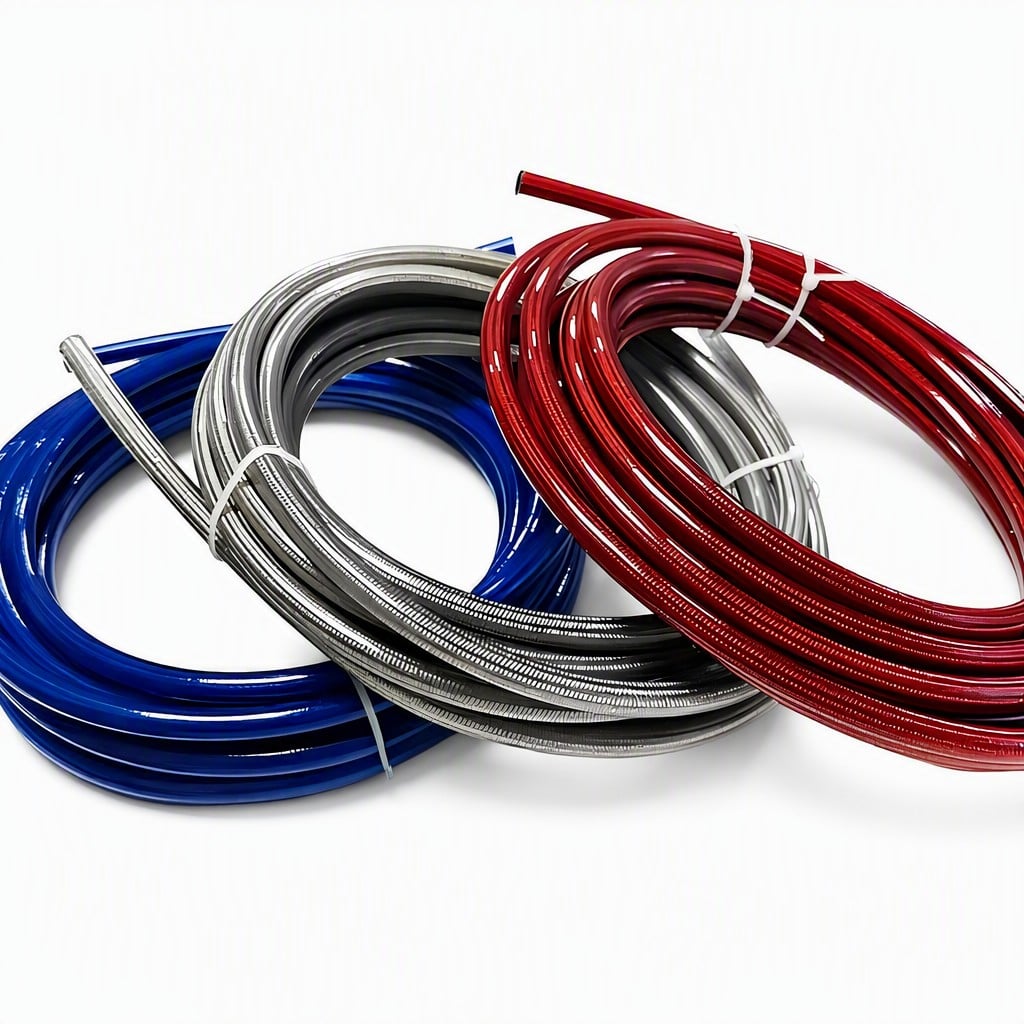
Before beginning installation, verify that your new braided brake lines and hydraulic brake tubing components meet DOT brake hose specifications and are compatible with your vehicle model. Gather all necessary tools, including flare wrenches, brake fluid, a brake bleeding kit, and a torque wrench calibrated to manufacturer specifications. Taking time to understand each step of the installation process prevents costly mistakes, ensures compliance with safety regulations, and delivers the performance gains you expect from your brake system upgrade.
Understanding Your Custom Brake Hose Components
Brake Line Materials and Specifications
Modern braided brake lines feature outer braiding made from stainless steel, Kevlar, or synthetic materials that provide superior durability compared to factory rubber hoses. The inner core of hydraulic brake tubing typically uses PTFE or synthetic rubber rated for high-pressure hydraulic fluid transmission. DOT brake hose specifications define minimum burst pressure ratings, fire resistance, and chemical compatibility to ensure safety across diverse driving conditions and temperature ranges. Understanding these material differences helps you select the right custom brake hose option for your vehicle's intended use, whether street driving, track performance, or heavy-duty towing applications.
Planning Your Installation Layout
Measure your vehicle's existing brake line routing before purchasing new braided brake lines to ensure accurate lengths and proper fitment. Document the connection points at the master cylinder, wheel cylinders, and proportioning valve using photographs or detailed notes. Plan your routing to avoid heat sources, moving engine components, sharp edges, and areas prone to contamination. Most custom brake hose installations benefit from a detailed route map that shows entry points, mounting locations, and clearance verification, reducing installation time and preventing fit issues that compromise safety or aesthetics.
Step-by-Step Installation Process
Preparation and System Bleeding
Start by disconnecting the negative battery terminal and safely elevating your vehicle on jack stands to access brake components. Drain old hydraulic brake tubing fluid into a drain pan and document the fluid type for proper replacement selection. Remove the factory rubber brake lines using appropriately sized flare wrenches applied to both the fitting and the line to prevent stripping. Install new braided brake lines following your predetermined route, ensuring proper clearance from heat sources and securing lines with factory mounting brackets or quality adhesive-backed clips.
Connecting and Securing New Lines
Apply a thin layer of brake fluid to AN fittings before hand-tightening connections to ensure proper sealing and prevent galling. Use a torque wrench to tighten DOT brake hose specification-compliant connections to manufacturer-recommended torque values, typically between 10 and 15 foot-pounds for most applications. Double-check all connection points visually and by hand to confirm they are secure and properly seated. Route completed braided brake lines away from suspension components, exhaust manifolds, and areas where vibration could cause abrasion or fitting failure.
Bleeding and Testing Your New Brake System
Proper Bleeding Techniques
Bleeding air from your new hydraulic brake tubing installation is critical for maintaining consistent brake pedal feel and maximum stopping power. Begin at the brake component farthest from the master cylinder, typically the rear passenger wheel, and work systematically toward the front driver side. Use a brake bleeding kit with a one-way valve to prevent air re-entry, or apply manual pressure using a helper coordinating pedal pressure with your valve opening sequence. Continue until brake fluid flows smoothly without air bubbles, then move to the next wheel following the manufacturer's specified sequence for your vehicle's brake layout.
Safety Verification and Performance Testing
After completing the brake system bleed, pump the brake pedal firmly 10 to 15 times while the engine is off to verify adequate pedal pressure and responsiveness. Start the engine and test braking performance in a safe, controlled environment like an empty parking lot, applying light to moderate pressure through several stops. Listen and feel for any spongy brake response, unusual noises, or fluid leaks around newly installed braided brake lines and fittings. Visually inspect all connection points for weeping or dripping, as even minor leaks in custom brake hose systems compromise safety and require immediate re-tightening or fitting replacement.
Maintenance and Long-Term Care
Regular Inspection Protocols
Schedule monthly visual inspections of your custom brake hose system, looking for cracks, abrasion marks, leaks, or fitting corrosion that indicates potential failure. Check brake fluid levels monthly and top off with the correct fluid type recommended in your vehicle's service manual or on your new braided brake lines' specification labels. Every two years or after 24 months, completely flush and replace brake fluid to maintain system performance and prevent moisture accumulation that degrades hydraulic properties. Monitor brake pedal feel and stopping distance for any gradual changes that might indicate air re-entry, internal leaks, or component wear requiring professional inspection.
Common Issues and Troubleshooting
Spongy brake pedal feel after installation typically indicates trapped air in the hydraulic brake tubing system, requiring additional bleeding cycles and careful valve sequencing. Brake fluid leaks at connection points often result from insufficient torque or slightly misaligned AN fittings, correctable by slightly loosening and re-torquing connections after confirming proper alignment. Uneven braking or pulling during stops suggests improper bleeding sequence or a blocked line within your braided brake lines, addressable through systematic re-bleeding or professional inspection. If brake warning lights remain illuminated after installation, verify that proportioning valve connections are properly seated and that DOT brake hose specifications are met across all fittings and tubing sections.
FAQ
What is the difference between braided brake lines and factory rubber hoses?
Braided brake lines feature reinforced stainless steel or synthetic outer braiding that resists ballooning under high hydraulic pressure, delivering more consistent pedal response than traditional rubber hoses. Factory rubber hoses expand slightly under braking pressure, absorbing energy and softening brake feel, particularly during repeated hard braking or high-performance driving. Custom brake hose systems with braided construction offer improved heat dissipation, longer service life, and superior performance characteristics that justify their higher initial cost for serious driving enthusiasts. The hydraulic brake tubing inside remains similar in both types, but the external reinforcement makes a significant difference in system responsiveness and fade resistance.
How do I know if my installation meets DOT brake hose specifications?
Check that all braided brake lines and hydraulic brake tubing components display DOT markings, date codes, and pressure ratings on their outer sheaths or packaging documentation. Verify that burst pressure ratings meet or exceed your vehicle manufacturer's specifications, typically 3,000 to 5,000 PSI for street vehicles and 5,000 to 10,000 PSI for performance applications. Ensure all AN fittings use proper stainless steel or zinc-plated construction compatible with your chosen brake fluid type, typically DOT 3, DOT 4, or DOT 5.1 formulations. Review the manufacturer's installation guide included with your custom brake hose kit to confirm that all components align with current DOT regulations and your specific vehicle's brake system requirements.
Can I install a custom brake hose system without professional help?
Experienced DIY enthusiasts with proper tools, a safe working environment, and detailed documentation can successfully install a custom brake hose system, though professional installation eliminates potential errors and provides warranty protection. The process requires careful attention to detail, proper torque specifications, and systematic bleeding procedures that demand patience and mechanical aptitude. If you lack confidence in your brake system knowledge, hesitate at any installation step, or encounter unexpected complications, consulting a certified mechanic ensures your safety and protects your vehicle investment. Many professional shops offer reasonable labor rates for brake system installations and provide confidence that your new braided brake lines and hydraulic brake tubing meet all safety standards and perform optimally.
 EN