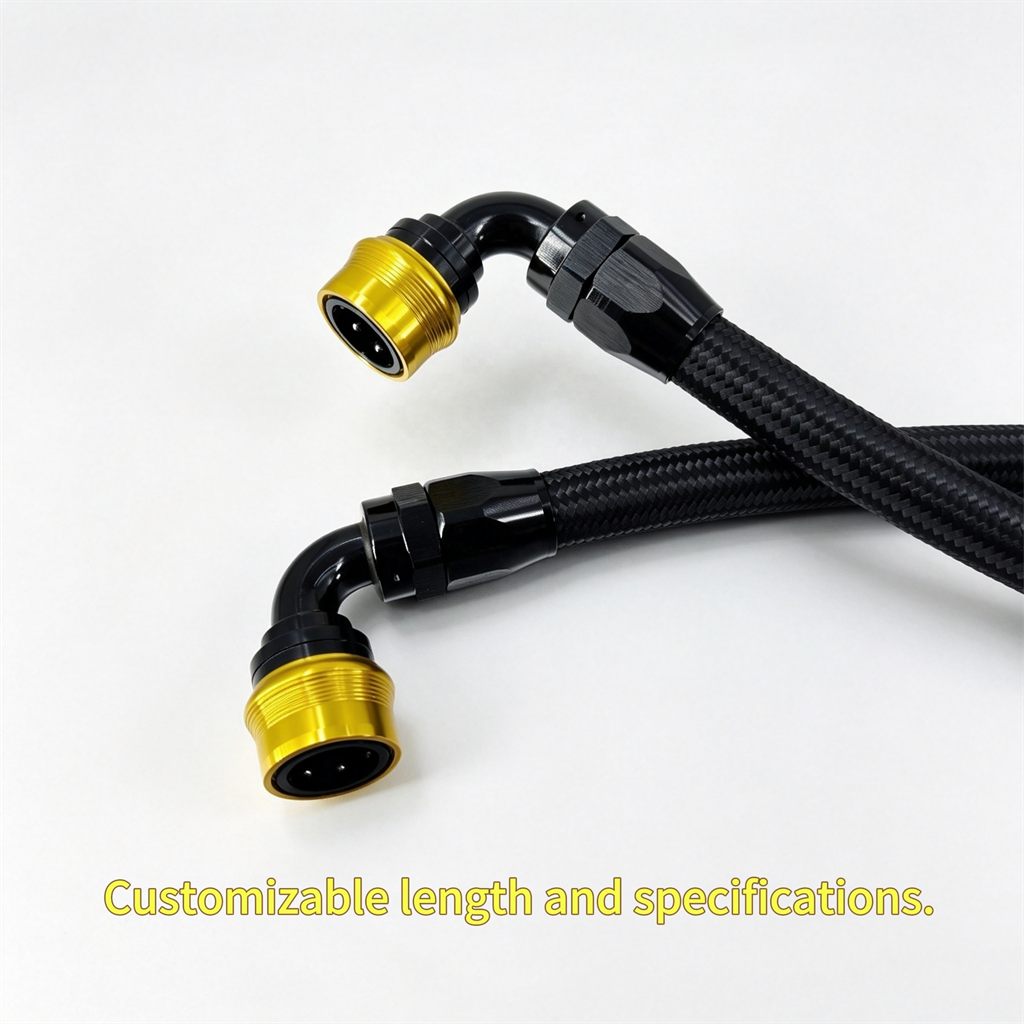
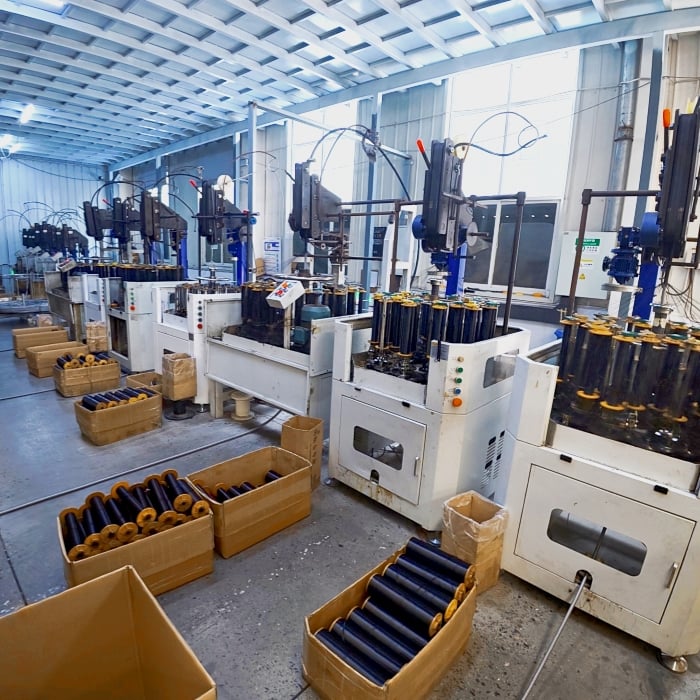
Installing a hose assembly system requires careful planning, precision, and adherence to industry standards. Whether you are working with a hydraulic hose assembly in manufacturing, construction, or fluid transfer applications, proper installation is critical to ensure system reliability, safety, and longevity. A poorly installed hose assembly can lead to leaks, equipment failure, and costly downtime. This guide walks you through the essential steps and best practices to correctly install a hose assembly system in your industrial or commercial operation.
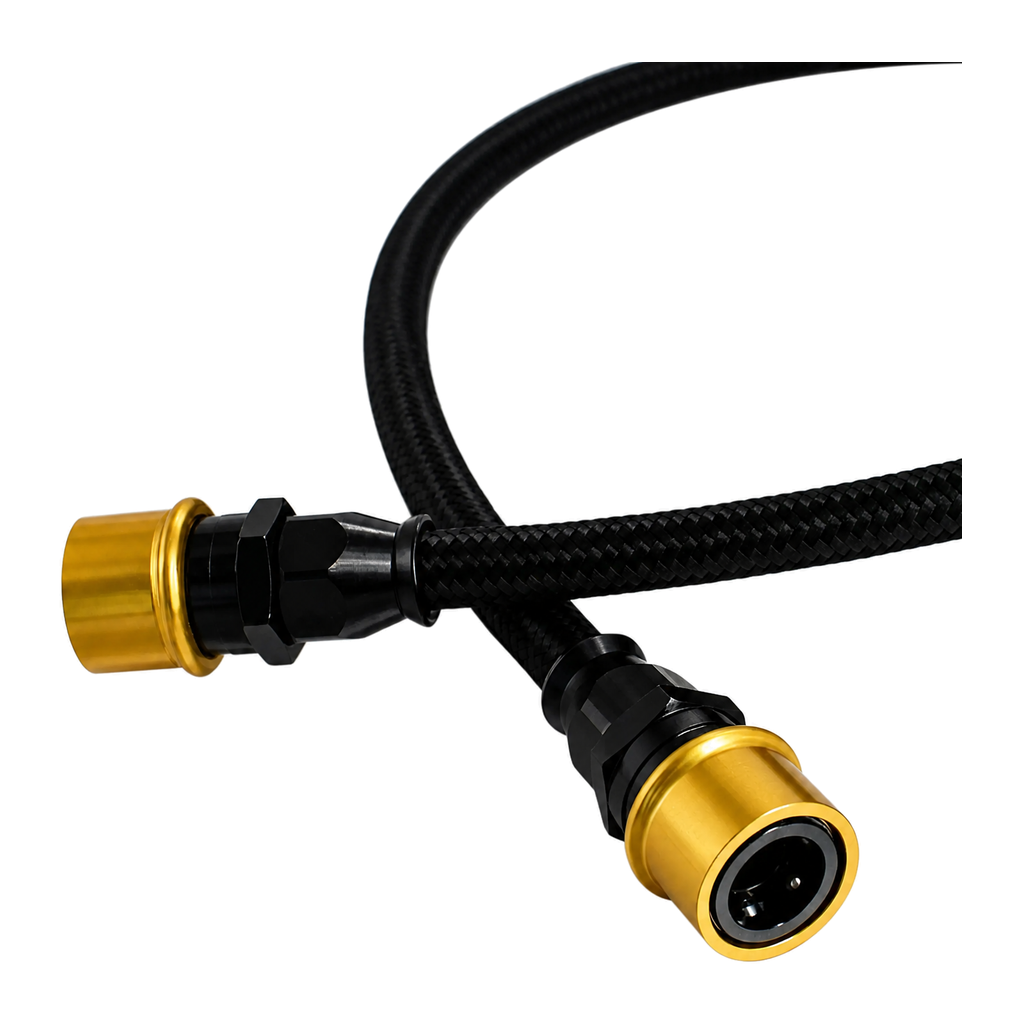
The installation process begins well before you connect any fittings. Understanding the system layout, pressure ratings, fluid compatibility, and environmental conditions is essential. An industrial hose system must be sized correctly and routed to minimize stress, vibration, and thermal exposure. Proper planning prevents costly mistakes and ensures your hose fitting assembly operates at peak performance from day one.
Planning and Preparation for Hose Assembly Installation
System Design and Specifications
Before you touch a single component, review the system schematic and engineering specifications. Confirm the operating pressure, temperature range, and fluid type that your hydraulic hose assembly will handle. Check the diameter, length, and material requirements for each section of the industrial hose system. Verify that all hose fittings are rated for the intended application and that hose assembly components match the original design. Mismatched specifications are a leading cause of premature failure and safety hazards.
Gathering Tools and Materials
Assemble all necessary tools before beginning installation of your hose fitting assembly. You will need a hose assembly kit with the correct fittings, crimpers or assembly tools, wrenches, measuring tape, and cleaning supplies. Ensure your hose assembly equipment is calibrated and in good working condition. Have safety equipment on hand, including gloves, eye protection, and absorbent materials for spills. Pre-installation quality checks on all hose assembly components reduce errors and rework time significantly.
Installation Steps for Your Industrial Hose System
Preparing the System Environment
Clean all connection points and the workspace thoroughly before starting hose assembly work. Dirt, debris, or moisture in fittings will contaminate your hydraulic hose assembly and cause blockages or leaks. Remove protective caps from all hose assembly ports only immediately before connecting components. For a hose fitting assembly, ensure the system is depressurized and isolated from power sources. Many installation failures stem from contamination introduced during assembly rather than design flaws, so treat cleanliness as your first priority.
Routing and Securing the Hose Assembly
Plan the physical path of your industrial hose system before attachment. Route the hose assembly to avoid sharp bends, extreme temperatures, and moving machinery. Use cable trays, clips, or clamps rated for your hose assembly diameter and operating conditions. Maintain minimum bend radius specifications for the hose fitting assembly material to prevent kinking and internal damage. Secure the hose assembly at regular intervals, typically every 12 to 24 inches, depending on diameter and pressure. Proper routing of a hydraulic hose assembly extends service life and reduces vibration-related wear.
Connecting Fittings and Sealing
Apply the appropriate sealant or thread tape to threaded hose assembly connections, following manufacturer guidance. Hand-tighten the hose fitting assembly first to ensure threads are aligned and seating correctly. Use two wrenches to prevent rotation and damage to the hose assembly during final tightening. For crimped hose assembly systems, verify that crimp quality meets ISO or industry standards. Over-tightening can damage fittings; under-tightening leads to leaks. Proper connection technique in your hose fitting assembly installation prevents failure during initial pressurization and operation.
Testing, Safety Verification, and Commissioning
Pressure Testing and Leak Detection
After completing hose assembly installation, conduct a low-pressure test to verify all connections. Pressurize your industrial hose system gradually while observing for leaks or abnormal behavior. Once the low-pressure test passes, perform a high-pressure test at the system's rated operating pressure. Inspect every hose assembly joint, fitting, and section for signs of fluid weeping or seepage. Document all test results and corrective actions taken during the hose fitting assembly commissioning phase. Many operators skip this step, only to discover failures during production operation, leading to unplanned downtime.
Monitoring and Maintenance After Installation
After your hose assembly system is operational, establish a regular inspection and maintenance schedule. Check pressure readings, fluid levels, and visible hose assembly condition weekly during the first month. Monitor for temperature changes, unusual noise, or vibration that may indicate internal hose assembly issues. Replace or reseal any connections showing signs of wear or minor leaks immediately. The industrial hose system's reliability depends on consistent monitoring and proactive maintenance. A well-maintained hydraulic hose assembly system will serve reliably for many years; neglected systems fail unexpectedly and expensively.
FAQ
What is the correct bend radius for a hose assembly installation?
The bend radius depends on the hose assembly material, diameter, and pressure rating. Most manufacturers specify minimum bend radius in their product documentation for the hose fitting assembly. Never exceed the maximum bend radius limit, as doing so can damage internal hose assembly reinforcement layers and reduce service life. Consult your specific hose assembly product datasheet to confirm the exact specification for your industrial hose system application.
How do I prevent leaks in my hose assembly system after installation?
Leaks typically occur due to improper connection, contamination, or over-tightening during hose assembly installation. Use proper sealant materials rated for your fluid type and pressure. Clean all components thoroughly before connecting the hose fitting assembly. Apply correct torque settings when tightening connections in your hydraulic hose assembly. Regular pressure testing immediately after installation and periodic inspection prevent most leak-related failures in the industrial hose system.
When should I replace a hose assembly system after installation?
Most hydraulic hose assembly systems last 5 to 10 years under normal operating conditions, though factors like temperature extremes, fluid compatibility, and maintenance frequency affect lifespan. Monitor the hose assembly for visible damage, swelling, hardening, or persistent weeping from fittings. Replace your hose fitting assembly immediately if you observe cracks, bulges, or signs of internal deterioration. Follow the manufacturer's replacement interval guidance for your specific industrial hose system to avoid unexpected downtime and safety risks.
 EN