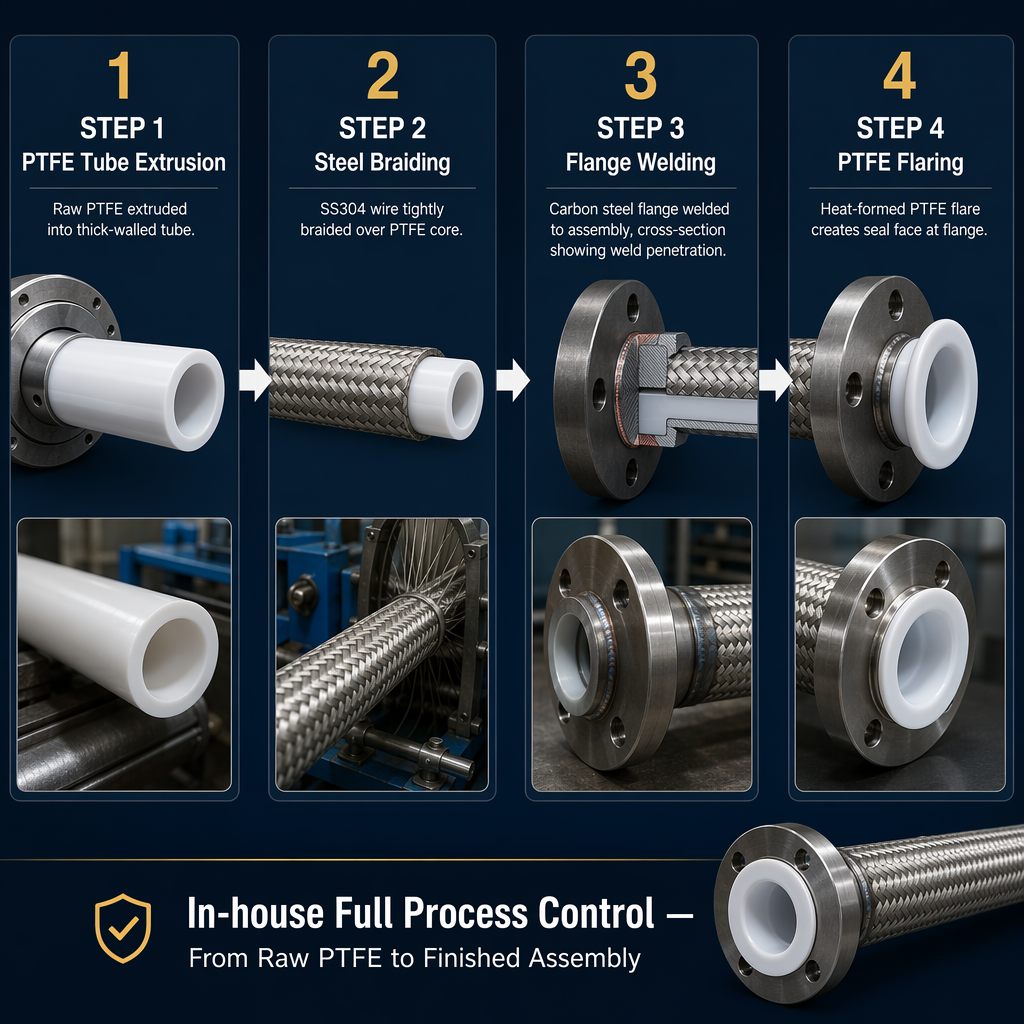
Installing a ptfe braided hose system requires careful planning, precise execution, and attention to detail. Whether you're working with high-pressure hydraulic applications, chemical transfer, or food-grade fluid systems, proper installation ensures safety, performance, and extended service life. A poorly installed teflon braided tubing system can lead to leaks, burst failures, and costly downtime. This guide provides comprehensive technical direction for installing your ptfe reinforced hose assembly correctly from start to finish.
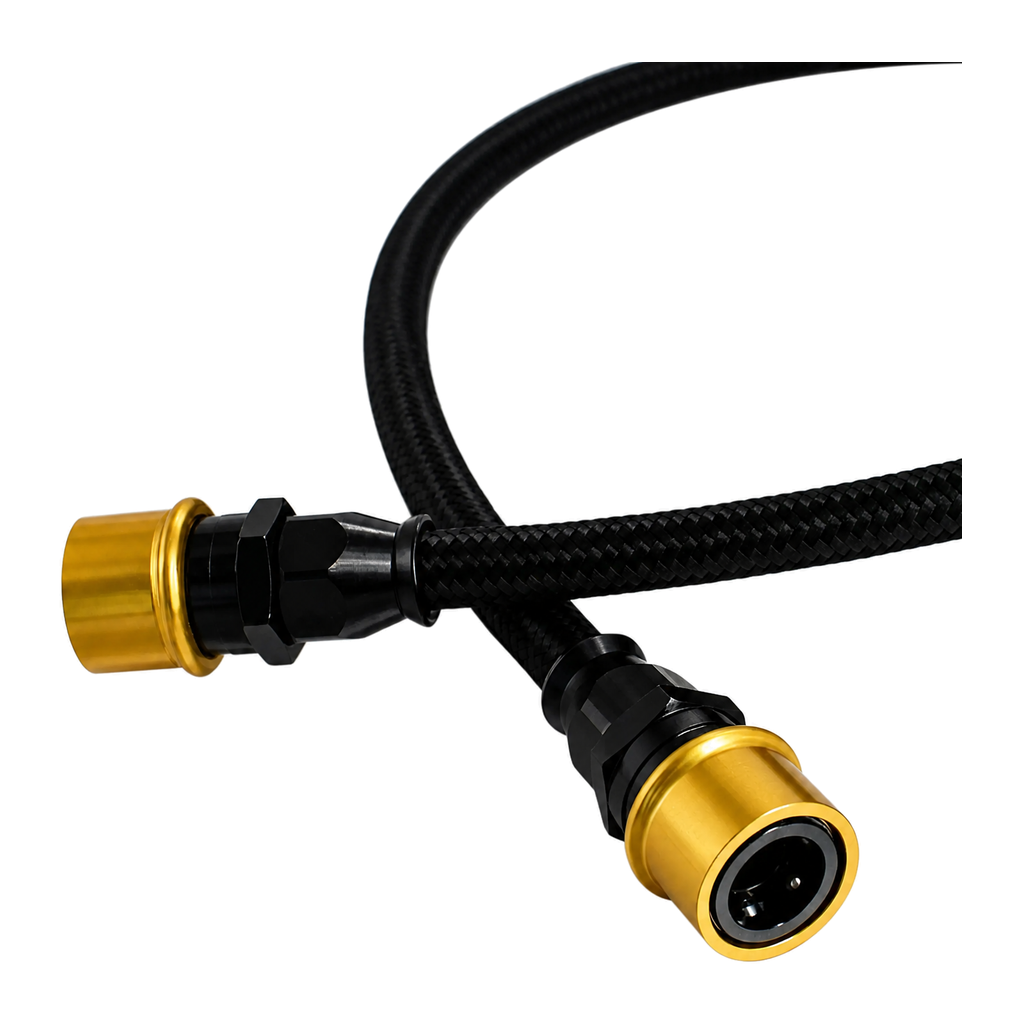
Before beginning installation, understand that fluoropolymer hose assembly systems demand respect for their operational limits. Each ptfe braided hose carries specific pressure ratings, temperature ranges, and compatibility specifications unique to its composition and braiding design. Installation mistakes—including incorrect fitting torque, cross-threading, or improper routing—can compromise the integrity of even the highest-quality teflon braided tubing. Success depends on following manufacturer guidelines, using appropriate tools, and verifying every connection point before system pressurization.
Preparation and Pre-Installation Checklist
Verify System Specifications and Documentation
Before touching any ptfe reinforced hose component, gather all technical documentation specific to your ptfe braided hose assembly. Review pressure ratings, temperature limits, chemical compatibility charts, and fitting specifications from the manufacturer. Cross-reference your system design against the actual hose specifications to ensure the fluoropolymer hose assembly you received matches the engineering requirements. Inspect the teflon braided tubing for visible damage, kinks, or crush marks that might have occurred during storage or shipping. Any pre-existing defect disqualifies the hose from installation and should be returned immediately.
Gather Required Tools and Materials
Proper installation of a ptfe braided hose system requires specific tools: an adjustable wrench set, a torque wrench calibrated to your fitting specifications, cutting tools designed for teflon braided tubing, and thread sealant rated for your fluid type. Do not use Teflon tape on flared or compression fittings; instead, use a thread sealant paste approved for your application. For the fluoropolymer hose assembly, have swabs or lint-free cloth available to clean internal passages before assembly. Prepare your workspace by ensuring adequate lighting, clean work surfaces, and organized tool placement to prevent contamination or tool damage during the installation process.
Step-by-Step Installation Process
Measuring, Cutting, and Preparing the Hose
Measure twice and cut once when preparing your ptfe reinforced hose. Mark cutting points clearly with a marker or tape, measuring from the point where the hose will first enter a fitting. Cut the teflon braided tubing straight across using a hose cutter or fine-tooth saw; never use a knife, which crushes the inner tube and separates the braid. After cutting, immediately inspect the cut end of the ptfe braided hose to ensure the fluoropolymer tube is clean and evenly exposed. Remove any loose braid strands by unraveling and trimming them carefully. Insert a cleaning swab into the hose passage to remove any cutting debris, then let the hose rest for a few minutes before assembly to allow the tube to resume its natural shape.
Installing Fitting Connectors and Ferrules
Begin fitting assembly by sliding the ferrule nut and ferrule sleeve onto the ptfe braided hose in the correct sequence. For JIC (37-degree flare) fittings, carefully insert the prepared hose end into the fitting body and hand-tighten the ferrule nut until snug. Use your torque wrench to apply the correct torque specification—typically 15 to 25 foot-pounds for small-diameter teflon braided tubing, though your manufacturer documentation takes precedence. Over-tightening damages the fluoropolymer hose assembly connection; under-tightening creates leak points. Make small adjustments and retest rather than forcing full pressure immediately. For a ptfe reinforced hose with compression fittings, ensure the ferrule seats properly inside the fitting body before tightening.
Securing and Routing the System
Route your ptfe braided hose assembly away from sharp edges, hot surfaces, and moving machinery. Use appropriate clamps or cable carriers designed for fluid hoses, spacing them every 18 to 24 inches along the run. Avoid bending the fluoropolymer hose assembly at angles tighter than the manufacturer's minimum bend radius—typically 3 to 5 times the hose outer diameter. Secure the teflon braided tubing so that pressure surges do not cause whip motion. At connection points, ensure the ptfe braided hose assembly has minimal stress from adjacent components. If your system runs through areas with temperature extremes, plan for thermal expansion by providing slight slack in the routing or using expansion loops at fixed connection points.
Testing, Verification, and Maintenance
Pressure Testing and Leak Detection
Before introducing your working fluid, conduct a hydrostatic pressure test using water or an inert test fluid appropriate to your application. Gradually increase pressure in 25 percent increments, allowing time at each step for the ptfe braided hose assembly to settle and leak paths to reveal themselves. Inspect every fitting, ferrule, and connection point on the teflon braided tubing assembly for signs of weeping or dripping. Use a clean cloth to dry the outside of connections, then retest to confirm any moisture is surface condensation rather than an active leak. Do not proceed to full operating pressure until the ptfe reinforced hose system has passed at least one hour at 80 percent of maximum rated pressure with zero leaks detected. Keep detailed test records, including pressure levels, duration, and any adjustments made.
Long-Term Maintenance and System Monitoring
After installation and testing, establish a routine inspection schedule for your ptfe braided hose system. Monthly visual inspections catch early signs of wear, such as braid exposure, surface cracks in the fluoropolymer hose assembly, or residual fluid accumulation around fittings. Check that clamps remain tight and routing remains clear of new obstacles. For high-pressure or high-temperature applications, schedule formal pressure tests annually. Replace the ptfe reinforced hose if you observe any deformation, visible damage to the teflon braided tubing, or persistent seeping at connections that do not respond to ferrule nut re-tightening. Keep spare hose sections and fitting kits on hand for emergency repairs, and train maintenance staff on safe disconnection procedures.
FAQ
What is the correct torque specification for ptfe braided hose fittings?
Torque specifications depend on fitting size, type, and material. For JIC flare fittings with teflon braided tubing, typical values range from 12 to 30 foot-pounds. Always consult the fitting manufacturer's documentation and use a calibrated torque wrench. Over-tightening crushes the ferrule and damages the ptfe reinforced hose connection; under-tightening causes leaks. When in doubt, start at the lower specification, test for leaks at low pressure, then increase torque if necessary in small increments.
Can I reuse a fluoropolymer hose assembly after disconnection?
Reusing a ptfe braided hose assembly depends on its condition and service history. If the hose shows no damage, kinks, or internal contamination, and if the fitting ends were not stripped during disconnection, gentle reuse may be acceptable for non-critical applications. However, the teflon braided tubing ferrule contact surfaces may be compromised, increasing leak risk. For safety-critical or high-pressure systems, always replace with new ptfe reinforced hose. This practice minimizes failure risk and maintains system reliability.
How do I prevent kinks in my ptfe braided hose installation?
Prevent kinks by respecting the minimum bend radius specified by the fluoropolymer hose assembly manufacturer—typically 3 to 5 times the hose outer diameter. Use gradual curves rather than sharp angles when routing the teflon braided tubing. Install support clamps to hold the ptfe braided hose in its intended path and prevent movement into sharp-edged equipment. When coiling excess hose during installation or storage, maintain gentle loops and secure them loosely. Never compress or fold the hose tightly into compact spaces, as this permanently damages the inner ptfe tube and braiding structure.
 EN