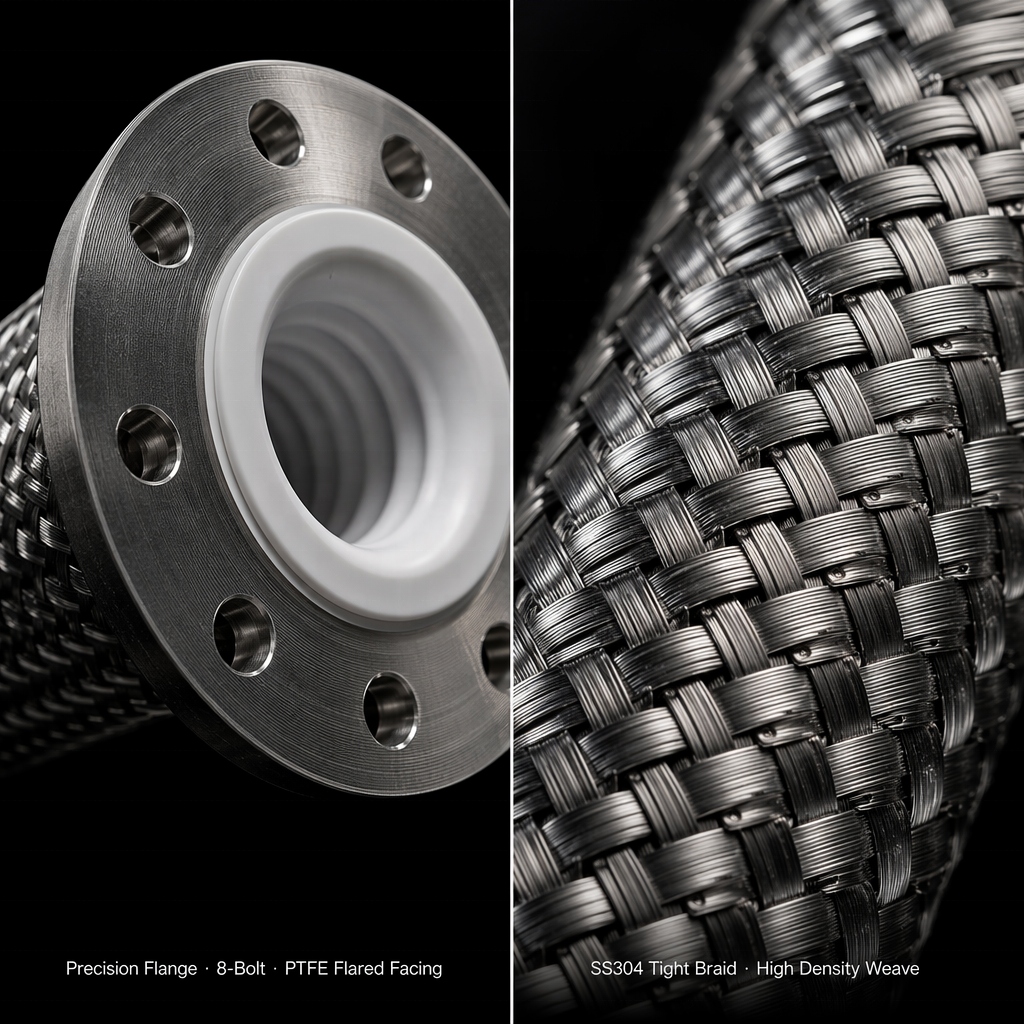
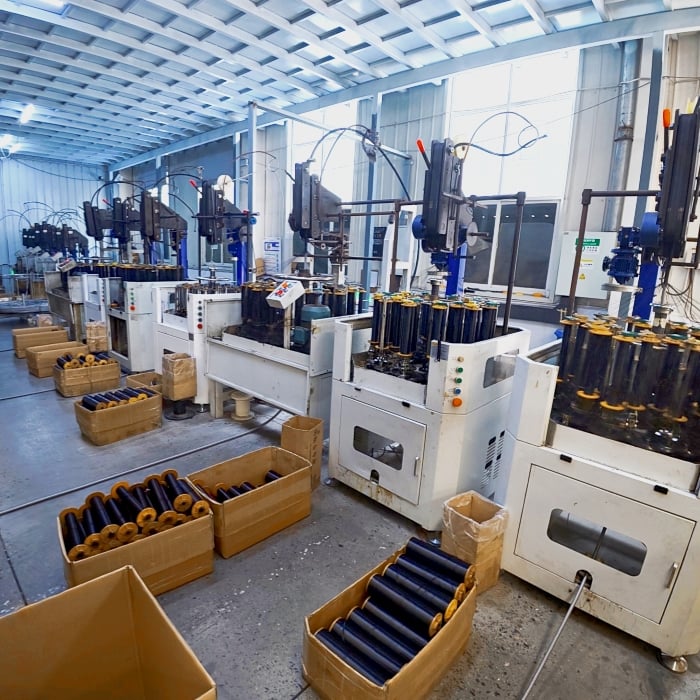
Proper installation of an industrial hose system is critical to ensuring reliable performance, workplace safety, and long equipment lifespan. Whether you're working with hydraulic systems, chemical transfer lines, or compressed air networks, the installation process demands precision, attention to detail, and adherence to engineering standards. A poorly installed industrial hose can lead to leaks, pressure loss, equipment damage, and potential safety hazards. Understanding the correct installation procedures protects your investment and maintains operational continuity across your facility.
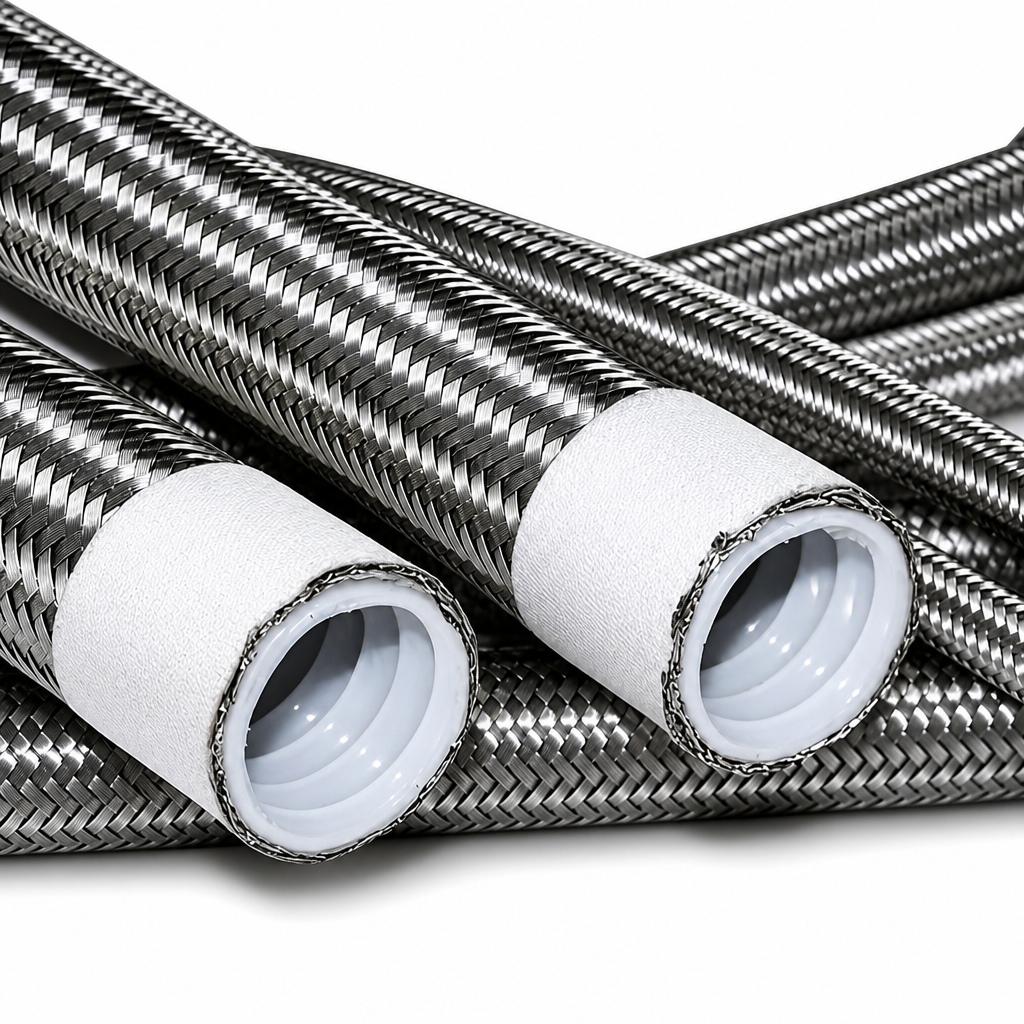
Installing an Industrial Hose system requires planning, the right tools, and a methodical approach. Each component, from the hose tubing itself to the fittings and clamps, plays a vital role in system integrity. This guide walks you through the essential steps, best practices, and critical considerations that ensure your installation meets industry standards and performs reliably under operating conditions.
Pre-Installation Planning and Assessment
Evaluating System Requirements and Specifications
Before beginning any installation, conduct a thorough assessment of your system requirements. Document the operating pressure, temperature range, fluid type, and flow rate that your hydraulic hose assembly must handle. These parameters determine the hose diameter, wall thickness, and material composition. Chemical resistant tubing, for instance, requires different material selection than standard hydraulic lines. Review equipment manuals and consult system design specifications to confirm compatibility between the hose, fittings, and connected components.
Create a detailed layout of your system routing. Map out the path the hose will take, identifying potential pressure points, bends, and areas where the hose might contact sharp edges or moving equipment. This planning phase prevents costly mistakes during installation and reduces the risk of hose damage in service. Measure each hose section carefully and account for proper bend radius to accommodate the hose's flexibility without kinking or crimping the material.
Gathering Tools and Materials
Assemble all necessary tools and materials before starting installation. You'll need hose clamps, hose crimpers, fitting tools, a hydraulic hose assembly kit, and pressure testing equipment. For high pressure hose system work, specialized crimping equipment ensures fittings are securely attached and provide reliable seals. Ensure you have the correct fittings for your specific hose type and pressure rating. Chemical resistant tubing may require specialized fittings designed to resist corrosion and chemical degradation. Keep a clean work area free of contaminants that could compromise hose integrity.
Step-by-Step Installation Process
Preparing Hose Sections and Fittings
Cut hose sections to the correct length using a clean, straight cut perpendicular to the hose axis. A diagonal or uneven cut compromises the fitting seal and reduces connection reliability. Remove any debris, moisture, or contaminants from inside the hose before attaching fittings. For a high pressure hose system, cleanliness is essential; even microscopic particles can damage seals and cause system failure. Inspect the hose exterior for damage, cracks, or weak spots that might develop into failures during operation.
Prepare fittings by checking their threads and sealing surfaces for damage or corrosion. Apply a thin layer of thread sealant to male threads if your system design requires it, but avoid excessive buildup that could block fluid flow. For hydraulic hose assembly connections, ensure fittings match the pressure rating and hose specifications. Mismatched components create weak points that fail under stress.
Attaching Fittings and Securing Connections
Insert the hose into the fitting and use appropriate crimping equipment to create a secure, permanent connection. Hydraulic hose assembly crimping requires precise pressure settings; too little pressure leaves a loose connection, while excessive pressure can damage the hose or fitting. Follow manufacturer specifications for your specific hose and fitting combination. Once crimped, verify the connection visually to ensure the fitting sits flush against the hose and shows no gaps or misalignment.
For high pressure hose system installations, test each fitting connection before integrating it into the full system. Apply hand pressure to verify the fitting holds firmly and resists twisting or movement. Chemical resistant tubing connections require the same rigor; even slight connection issues can compromise the chemical barrier and cause leaks.
Routing and Securing the Hose Path
Route the hose along the planned path, maintaining proper bend radius throughout. Most hoses have a minimum bend radius specified by the manufacturer; exceeding this creates kinks that restrict flow and weaken the hose structure. Use cable trays, hose racks, or clamps to secure the hose along its run, preventing sag, vibration, or contact with sharp edges or hot surfaces. Space clamps appropriately to support the hose without pinching or damaging it.
Avoid routing the hose through areas with moving machinery, sharp corners, or temperature extremes unless the hydraulic hose assembly or chemical resistant tubing is specifically rated for those conditions. Separation from electrical lines and other utilities reduces interference risks and improves system reliability. Check clearances to ensure the hose doesn't contact equipment during operation or maintenance access.
Testing, Commissioning, and Maintenance Planning
Pressure Testing and System Validation
After installation, conduct comprehensive pressure testing before placing the high pressure hose system into full operation. Start with a low-pressure test to verify connections hold and identify any obvious leaks. Gradually increase pressure in small increments, monitoring for leaks, unusual sounds, or hose movement. Many systems require hydrostatic testing at 150% of maximum operating pressure to validate integrity. Document all test results and pressures reached during commissioning.
Inspect all fittings, clamps, and connection points during pressure testing. Look for seeping fluid, weeping, or dripping that indicates a connection problem requiring adjustment or repair. Test the entire system loop if applicable, ensuring industrial hose assembly components work together reliably. For systems using chemical resistant tubing, consider testing with the actual fluid type if possible to confirm compatibility and seal performance.
Long-Term Maintenance and Inspection Protocols
Establish a regular inspection schedule for your industrial hose installation. Monthly visual checks identify signs of wear, leaks, or damage before they become critical failures. Look for cracks, bulges, color changes, or areas where the hose exterior shows deterioration. Check clamp tightness and verify hose routing hasn't shifted or created new stress points.
Document maintenance activities and hose condition observations in a maintenance log. This record helps track the hose lifecycle and informs replacement planning. Replace any hydraulic hose assembly or chemical resistant tubing that shows signs of aging, contamination, or performance degradation. Proper maintenance extends system life, reduces unplanned downtime, and maintains safety compliance. Replace hose and fitting components according to manufacturer recommendations or when your inspection program identifies concerns.
FAQ
What pressure rating should I choose for my high pressure hose system?
Select a pressure rating at least 25% higher than your maximum operating pressure to provide a safety margin. For example, if your system operates at 3000 psi, choose hose rated for at least 3750 psi. Consult your equipment specifications and system design documentation to confirm the appropriate pressure class. Higher pressure ratings provide greater reliability and safety but may cost more. Never undersize pressure ratings; system failures at rated pressure limits create safety hazards and damage equipment.
Can I use chemical resistant tubing for standard hydraulic applications?
Yes, chemical resistant tubing can be used for standard hydraulic applications, though it may cost more than general-purpose hose. The advantage is broader compatibility if your system handles multiple fluid types or operates in environments with chemical exposure. Verify that the specific chemical resistant tubing material matches your fluid type and operating conditions. Not all chemical-resistant materials suit all applications, so confirm compatibility before installation. Standard hydraulic hose often suffices for dedicated applications with single fluid types and stable environmental conditions.
How often should I inspect my industrial hose installation after commissioning?
Perform visual inspections monthly and more frequently in demanding applications with high pressure, temperature extremes, or vibration exposure. Schedule pressure tests annually or according to your facility's maintenance protocols. Document all inspections and establish replacement intervals based on hose age, condition, and fluid exposure. Most industrial hose systems benefit from replacement every 3 to 5 years even without visible damage, depending on usage intensity and fluid compatibility. Follow manufacturer recommendations and industry standards specific to your application type and operating environment.
 EN