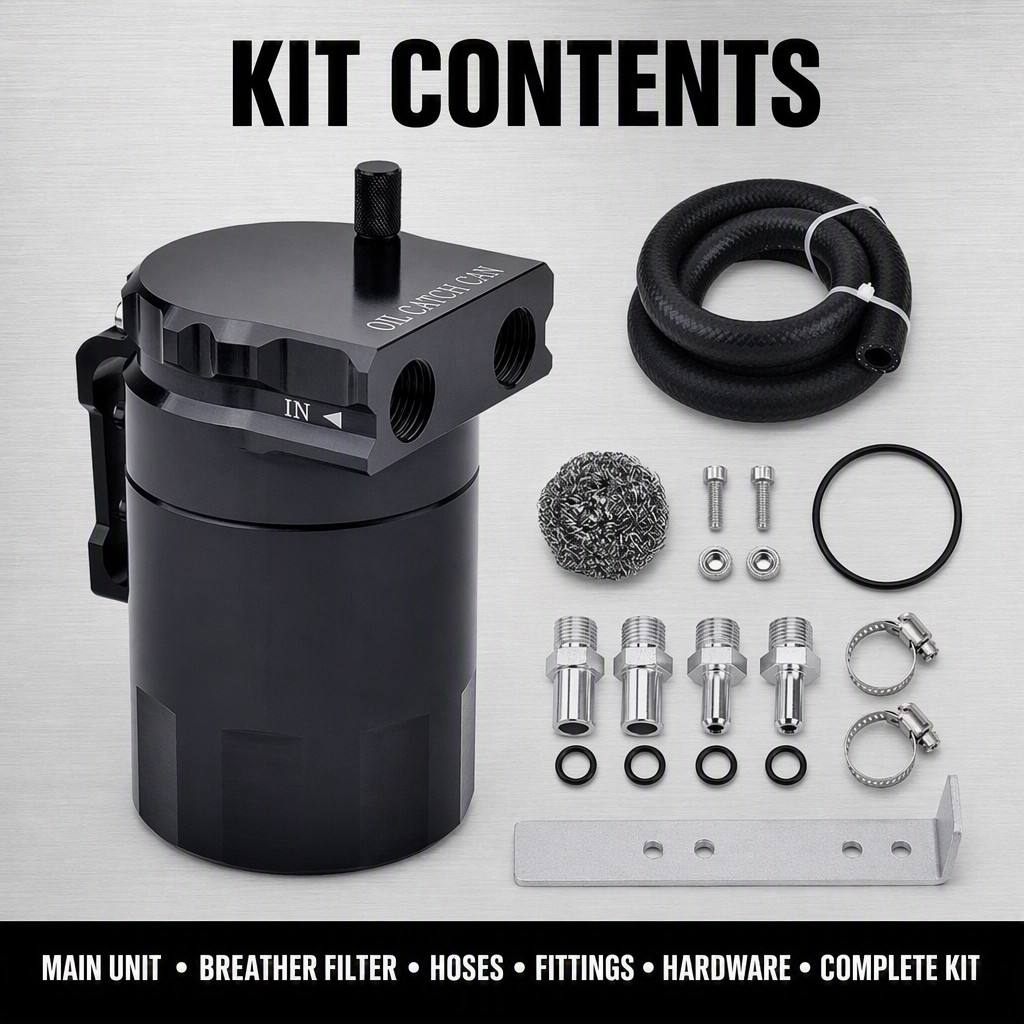
A properly functioning catch can is essential for maintaining engine health and preventing harmful crankcase vapors from entering your intake system. Understanding when to empty and clean your catch can system ensures that your engine operates efficiently and extends component lifespan. Many vehicle owners overlook this critical maintenance task, leading to reduced performance and potential engine damage over time.
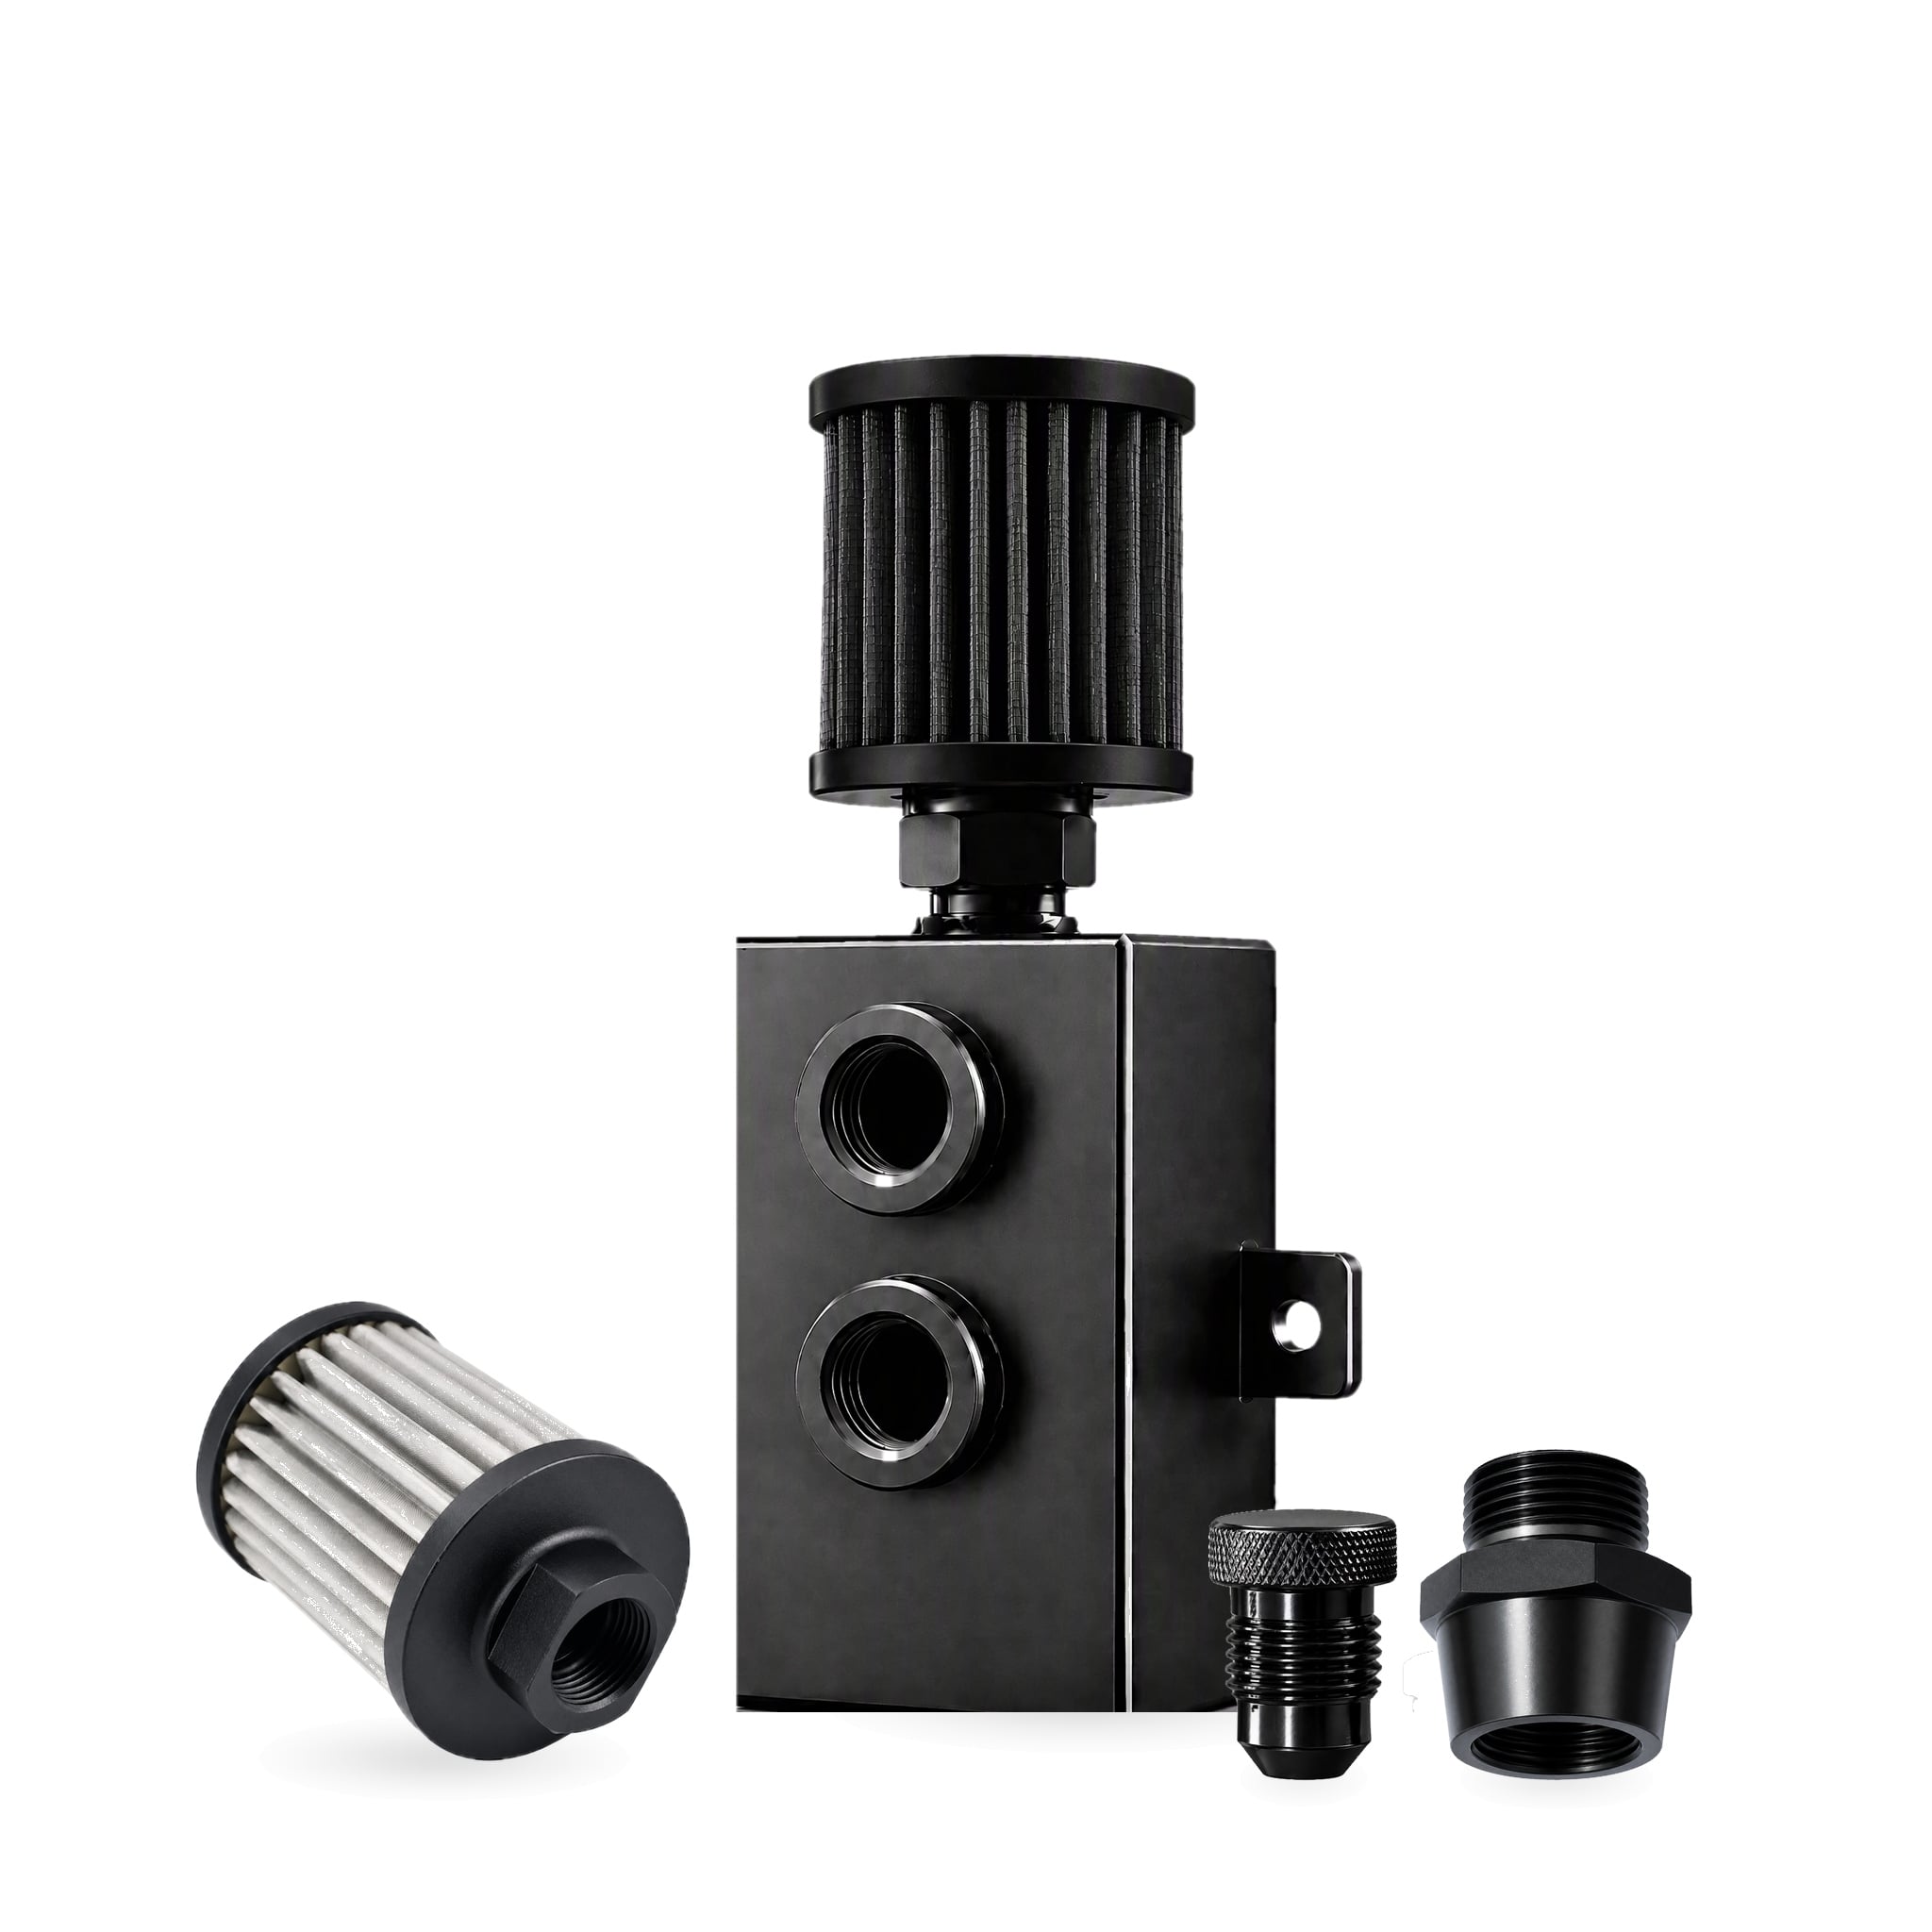
Regular catch can maintenance and cleaning prevents buildup of oil, moisture, and debris that can compromise the engine catch can system's effectiveness. Over time, the catch can accumulates the very contaminants it is designed to trap—oil vapor, condensation, and carbon particles—and if these are left to build up, the can may become saturated, reducing its ability to separate oil from crankcase gases and allowing unwanted residue to pass back into the intake system. The frequency of emptying and cleaning depends on driving conditions, engine type, and the specific catch can design. Vehicles driven in stop-and-go traffic, cold climates, or dusty environments tend to produce more condensation and blow-by, requiring more frequent attention, while high-performance or heavily modified engines may generate greater oil vapor volumes that demand shorter service intervals. The catch can's own design also matters: larger capacity cans with drain valves are easier to service, while compact units may need more frequent emptying. Establishing a consistent maintenance routine protects your investment and ensures reliable engine performance. By checking the can at regular intervals, emptying it before it fills, and cleaning the internal baffling and hoses as recommended, you keep the system operating at peak efficiency, prevent clogs and pressure issues, and avoid the carbon buildup that can rob the engine of power and efficiency over time. A simple, disciplined maintenance schedule ultimately extends the life of both the catch can and the engine it protects.
Engine Catch Can System Maintenance Intervals
Understanding Typical Maintenance Schedules
Most engine catch can system designs require inspection every 1,000 to 2,000 miles, with complete emptying every 3,000 to 5,000 miles under normal driving conditions. High-performance vehicles and those driven in severe conditions may need more frequent maintenance. Checking your manufacturer's guidelines and observing your specific catch can will help establish the optimal interval for your setup.
Factors Affecting Cleaning Frequency
Several variables determine how often you should empty and clean your catch can. Aggressive driving, short trips, cold climates, and high-mileage engines produce more crankcase vapors, accelerating catch can maintenance and cleaning requirements. Turbocharged and supercharged engines generate greater volumes of blow-by gases, necessitating more frequent attention. Regular visual inspections provide early warning signs that emptying is needed sooner than expected.
Signs Your Catch Can Needs Immediate Emptying
Visual and Performance Indicators
A full catch can often shows visible signs that emptying is overdue. You may notice excessive oil accumulation visible through transparent collection bottles, or performance degradation such as hesitation and rough idling. Some drivers experience increased blow-by pressure, which can cause vacuum leaks affecting engine operation. These indicators suggest your engine catch can system requires immediate attention to prevent further complications.
Monitoring Fluid Levels and Buildup
Checking your catch can every other week during the driving season helps prevent overflow conditions. When fluid levels reach approximately three-quarters full, schedule a cleaning session. The consistency and appearance of collected material matter too; thick, sludgy buildup indicates advanced condensation and contamination requiring thorough catch can maintenance and cleaning. Some systems feature dipsticks or measurement markings, simplifying monitoring of catch can status.
Best Practices for Catch Can Cleaning
Preparation and Safety Considerations
Before beginning catch can maintenance and cleaning, ensure your engine is completely cool and disconnect the negative battery terminal. Drain the catch can into a appropriate waste container, as collected fluids contain hazardous contaminants. Wearing nitrile gloves protects your skin from exposure to oily residue and chemical deposits. Ventilation is important during the emptying process to minimize inhalation of fumes.
Effective Cleaning Techniques
Rinse your catch can thoroughly with a degreaser or suitable solvent to remove stubborn oil deposits and sludge. For PCV catch can installation styles, inspect internal baffles and check valves during cleaning to ensure proper function. A soft brush helps dislodge trapped debris without damaging internal components. Allow the catch can to air dry completely before reinstallation to prevent introducing moisture back into the engine catch can system. Inspect all hoses and connections during reassembly, replacing any that show cracks or deterioration to maintain system integrity.
FAQ
How do I know if my catch can is full?
Most catch cans allow visual inspection of fluid levels through transparent plastic or acrylic collection bottles. When accumulated oil and condensation reach approximately three-quarters capacity, it's time to empty your catch can. Some advanced systems include electronic sensors that alert drivers when drainage is needed.
Can I delay catch can maintenance and cleaning?
Delaying catch can maintenance and cleaning beyond recommended intervals risks overflow, which allows crankcase vapors to escape into the intake system or atmosphere. This reduces engine efficiency, increases emissions, and can cause carbon buildup. Staying on schedule protects your engine and maintains optimal performance throughout the vehicle's lifespan.
What should I do after installing a new PCV catch can installation?
After PCV catch can installation, inspect the system after the first 100 miles to ensure all connections are secure and sealed properly. Check again at 500 miles and establish a regular monitoring schedule thereafter. Proper initial setup and early maintenance catch the issues before they affect engine performance.
 EN